How to use Elementor
Elementor is a popular page builder that is paired with WordPress. On Elementor, you can create professional web pages without the fuss of coding each page plus getting started with this pluggin is free so you can create a webpage without having to hire a team of professionals. Upgrading Elementor can give you access to advanced tools which can further enhance your web page.
The menu
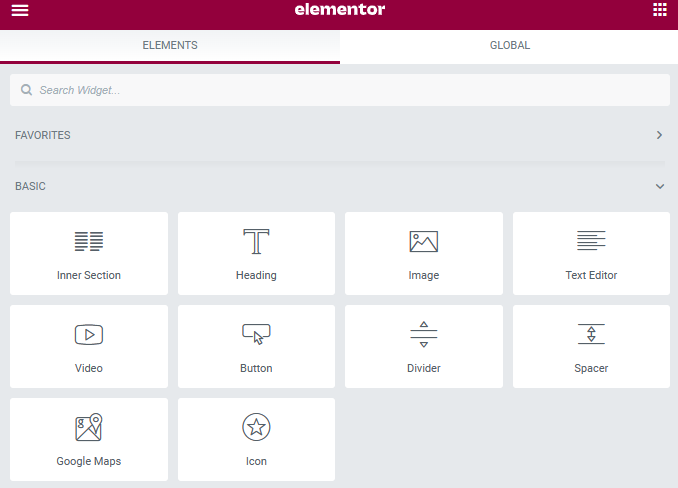
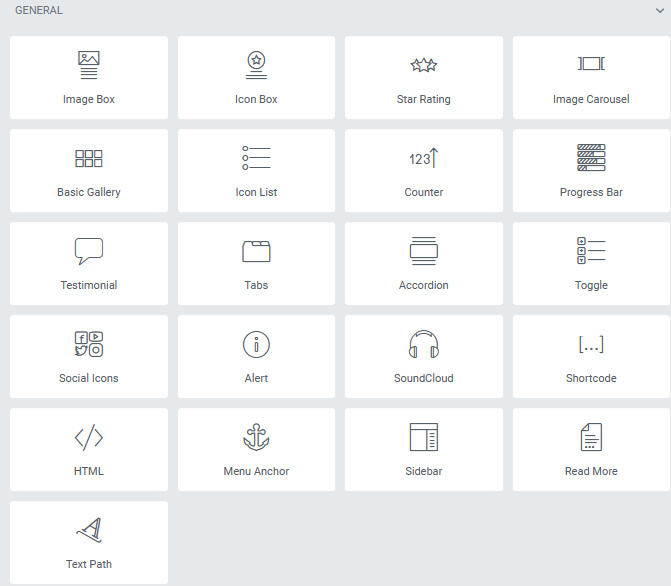
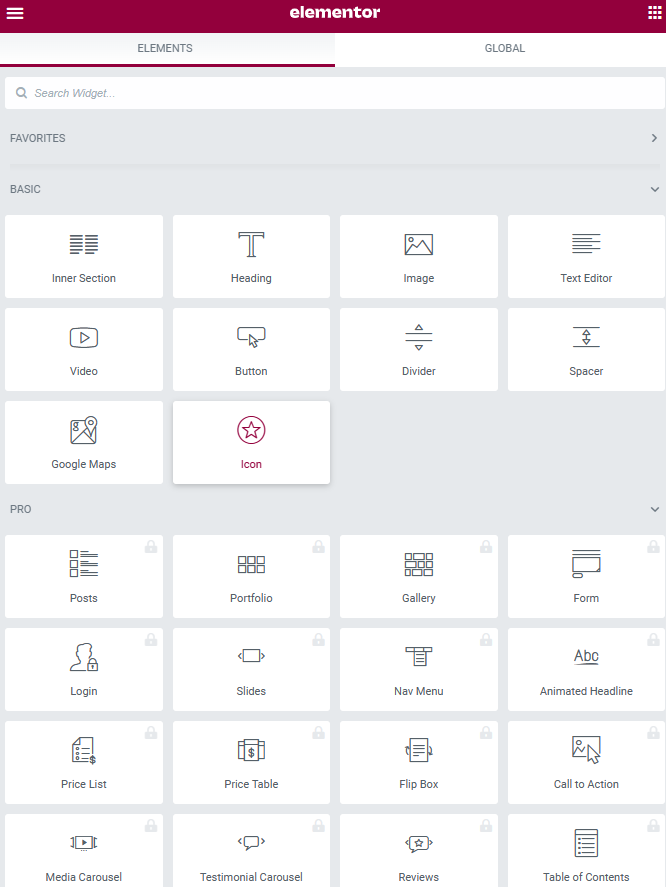
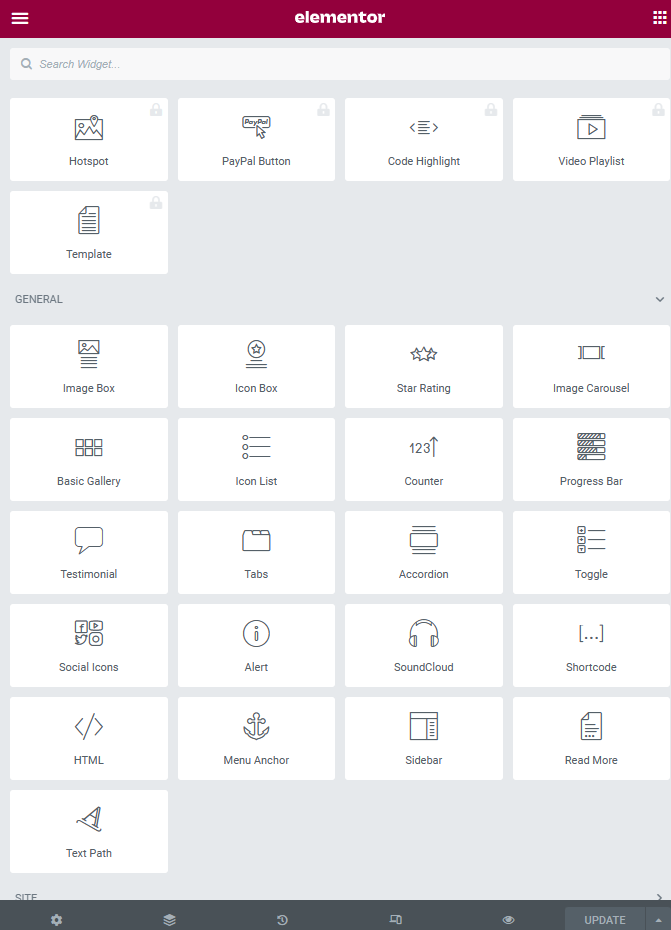
The most important part of Elementor is the menu. The menu keeps all the widgets & categories which allows you to customise your website. These widgets will help you create a functional web page. To use the widgets, simply drag & drop any desired widget. These options can help you create impressive templates. You will be using widgets such as:
- Headings
- Images
- Dividers
- Text editor
- Embedding videos
The widgets placed at the very top of the page are widgets youll most likely be usingTo begin with adding the widgets, you must first pick a colum
The first image shows a plus icon and a file icon, underneath that says ‘Drag widget here’. This gives you the option to drag whatever widget you need. The second image makes you choose the structure placement of you widget. This choice is important as this will determine the placement of your widgets. For example, if you need one column for a widget you would pick the first with only one rectangle, as that is only one column. You can arrange your page in multiple ways with these structure columns.
Elementor vs Elementor pro
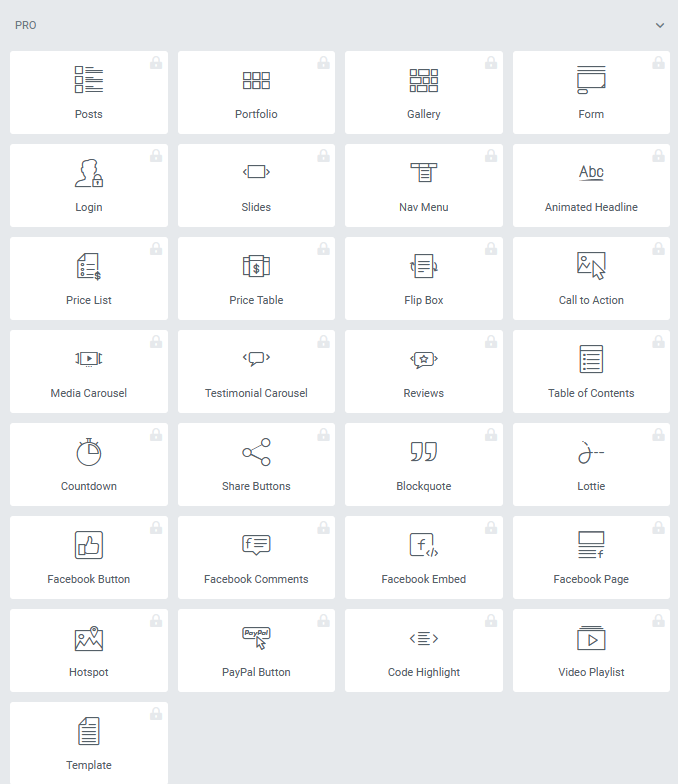
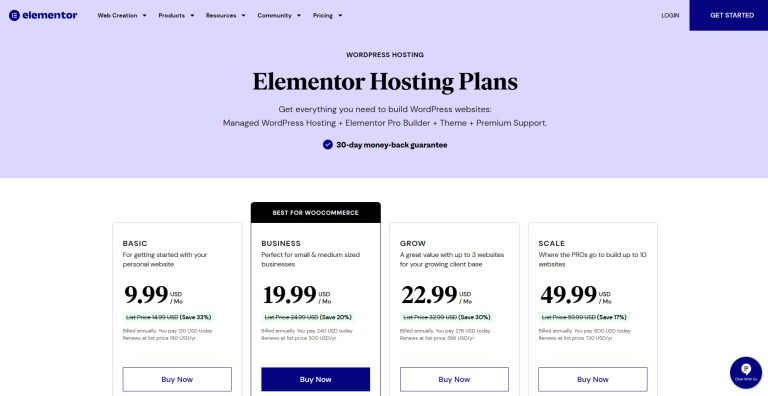
Elementor provides you with 30 core Elements to build a successful website however if the simple widgets aren’t enough you can upgrade to Elementor Pro. Elementor pro provides you with more advanced widgets for your portfolio or web design. These tools can speed up the workflow so your page can look more slick & seamless. With Elementor pro you can access better widgets such as: Professionally made templates, custom fonts, scrolling effects, pop-up builder, access to 50+ pro widgets, third -party tool integrations & theme builders.
Change Fonts
When creating your portfolio or web page, it is important to add text so that the objective is to inform people & when visiting any website texts are the main source of information. Typography is important in designing as it is an art of arranging all the contents of your website which gives a certain feel to it in a professional way. When using the correct type of Typography (not too small or clunky text) it elevates your web page as the font, colouring & sizing adds value to your text. On Elementor you can customise your fonts by dragging the ‘Text’ widget onto any desired column.
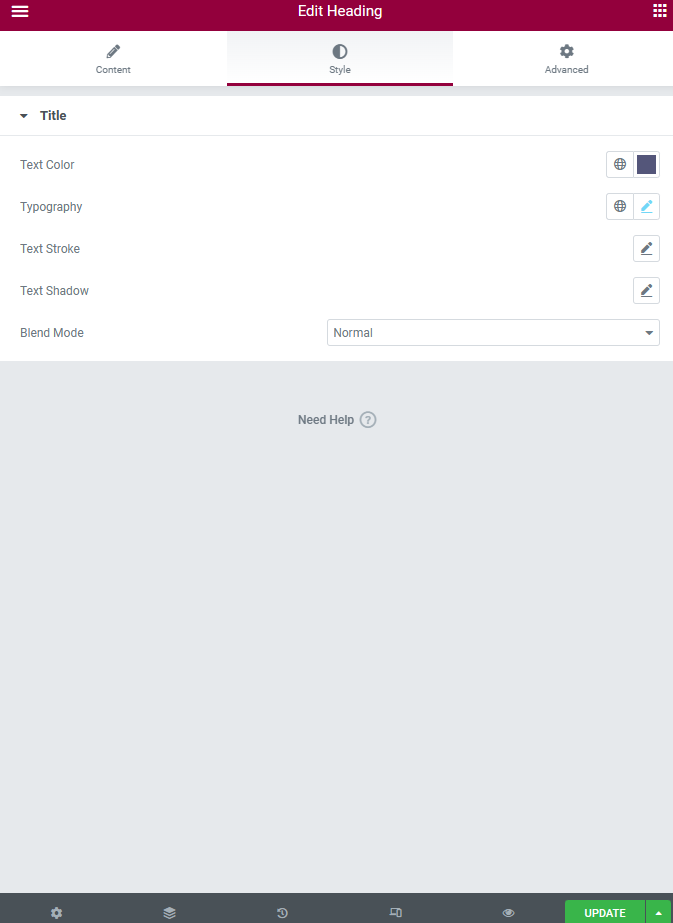
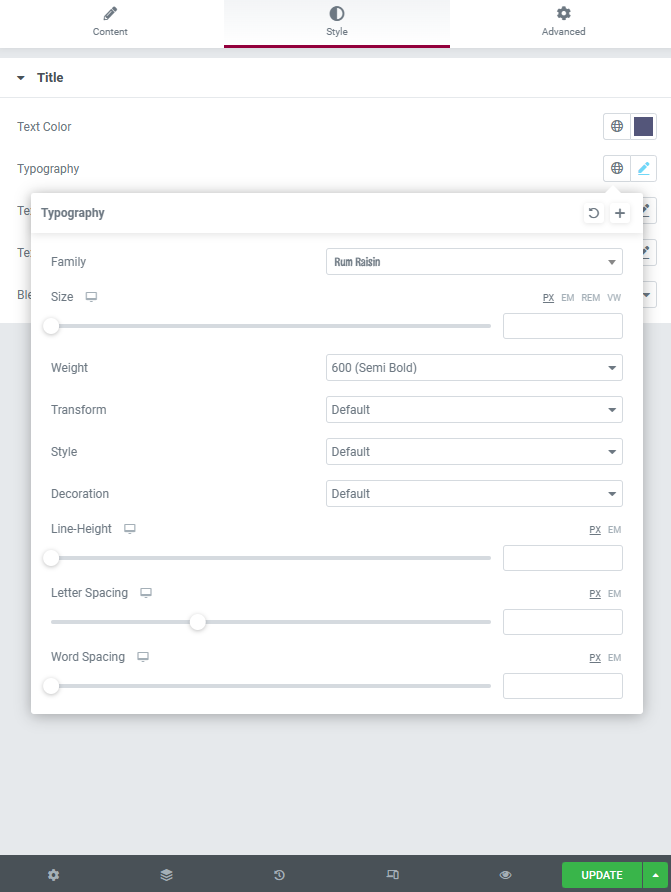
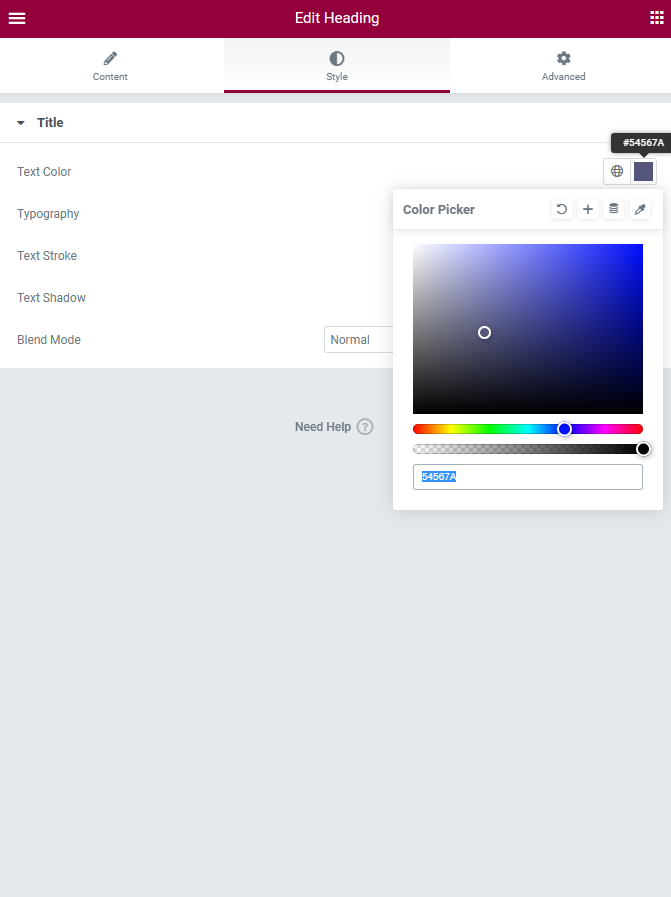
The Elementor plugin gives you lots of ways to customise text. Figure 7,8 & 9 shows what options you can choose to give you your desired theme. Figure 7 shows the overall basics for fonts such as the Text colour, typography, shadow & blend mode. This section can help you quickly edit your fonts. Figure 8 gives you advanced options for typography. This section allows you to change font size, weight, style, letter spacing, word spacing & more. Figure 9 shows the colours you can apply to your font. The colour picker lets you pick the brightness & transparency of the text.
Backgrounds
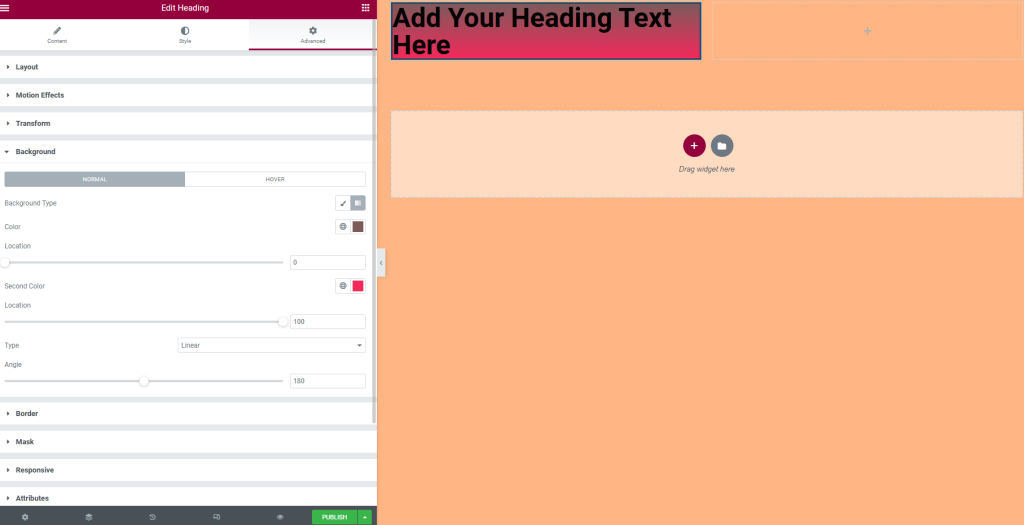
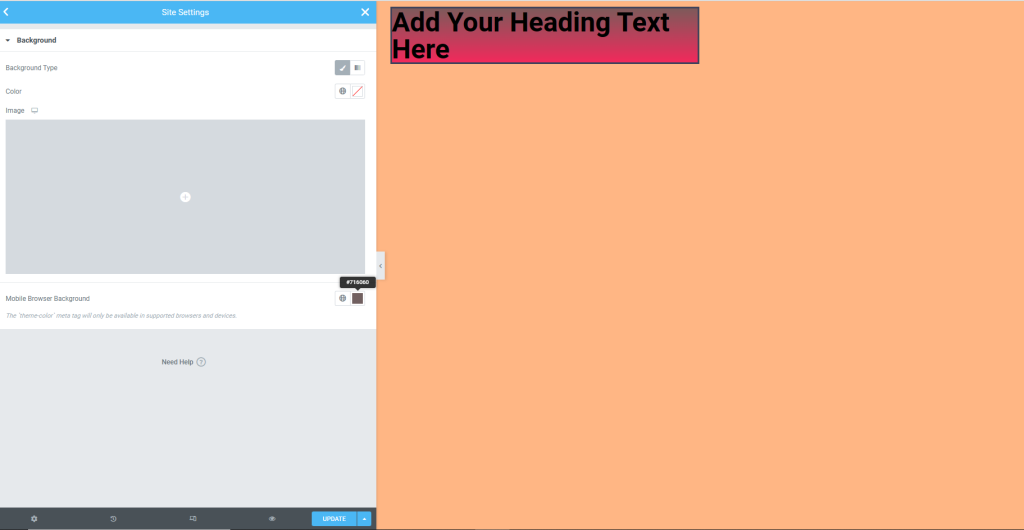
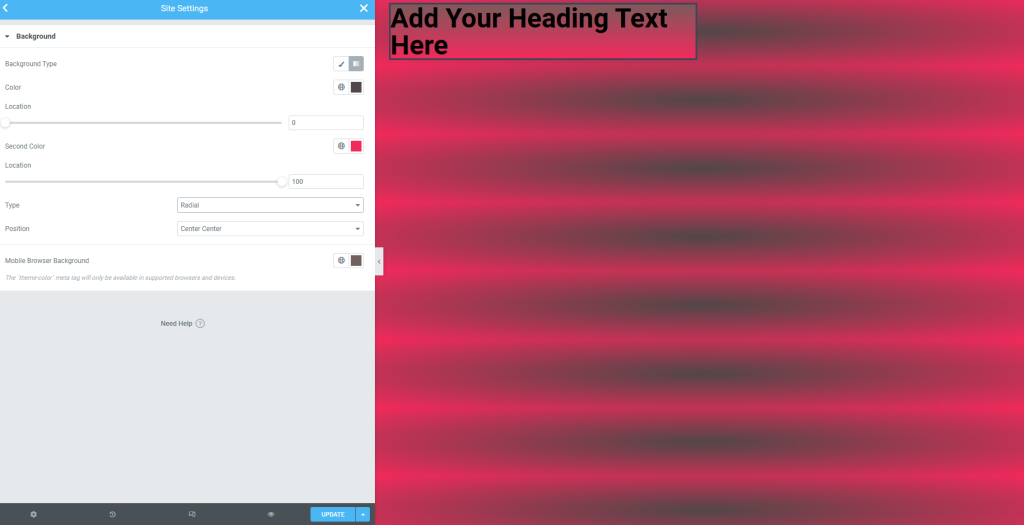
Backgrounds are what makes a good impression of a website, The background may not seem important but it captures the attention of the viewers as the background adds depth. In Elementor you can customise the colour, borders & background.
To access the background editor you’ll firstly will have to the hamburger menu displayed on the left of the screen, you’ll then need to select ‘Site Settings’ which will take you to a screen with more advanced options. You then need to select ‘Background’ on the menu to customise the background.
Icons
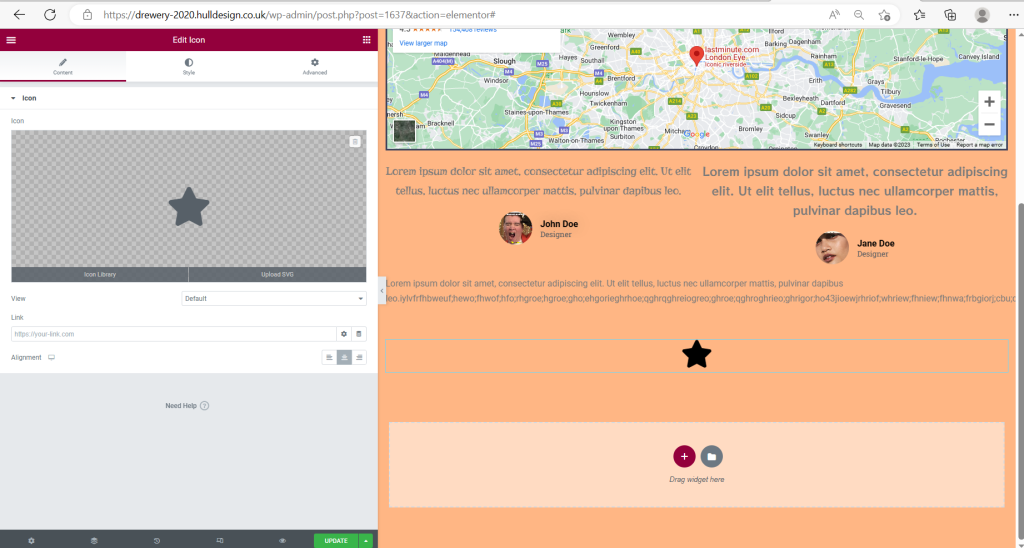
Icons are good communication devices that are visually easy to understand, they enhance navigation and provide user satisfaction. Icons are a good target for viewers to click/touch with a finger or mouse pad. when placing an icon you can add a link to take you to another web page. Huge chunks of text can put the viewers off a website. Icons are a great way to divide a wall of text, making it more readable
