Maya in 360
For the first week of the module we were given an introduction of the upcoming assignments & projects we have to complete. Our first project for the first week is to focus on Maya. Our first practical task this week is to turn a scene into a 360 video, This would require us to have a basic understanding of 360 rendering, to output an image on the Arnold renderer & to export the outcome onto Premier and upload the video. Before creating my 360 render I have looked at other examples of existing 360 VR simulation creations from previous 3D designers on YouTube as a way to give me inspiration and an idea as to how the outcome looks when the 360 platform is created.
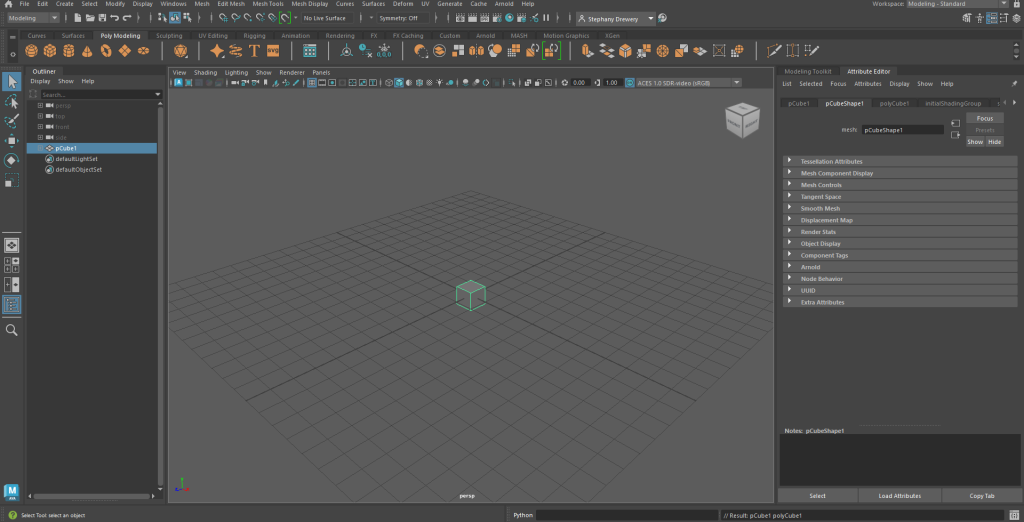
Image 1 – I began creating my background for my 360 video. 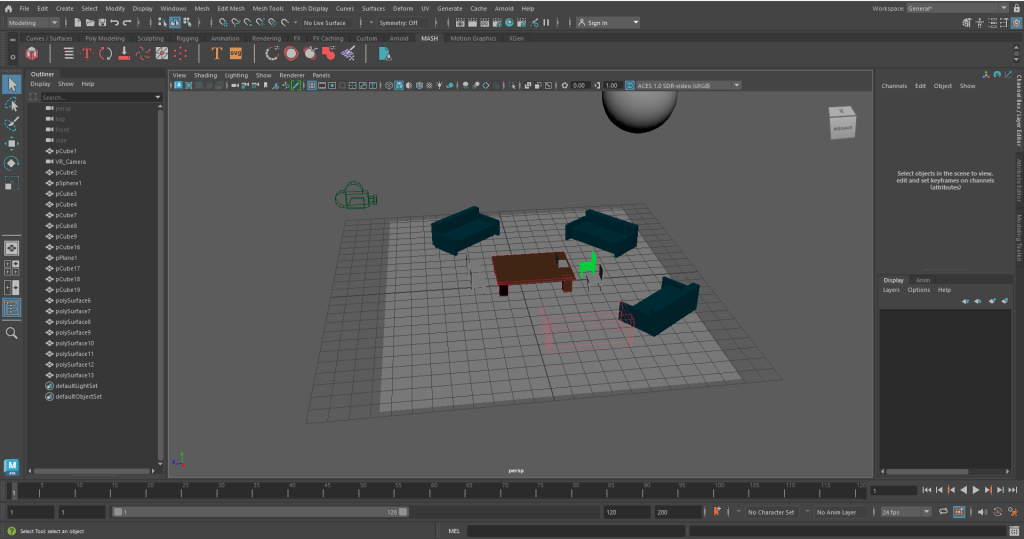
Image 2 – Here is the area I have created to place my 360 design onto.
I have began designing the base for my 360 render by adding a plain, large rectangle as the base which acts as a flooring for the scene. I then added a camera onto my scene. Since we are still experimenting with Maya 360 I have created a simple background to be a break room in a building, I have added chairs, couches & rugs. After creating my assets I have added a suitable image using the image plane for my scene. I wanted to keep my designs simple as my goals for this task is to create a 360 environment so I had to spend time figuring out the camera angles/settings.
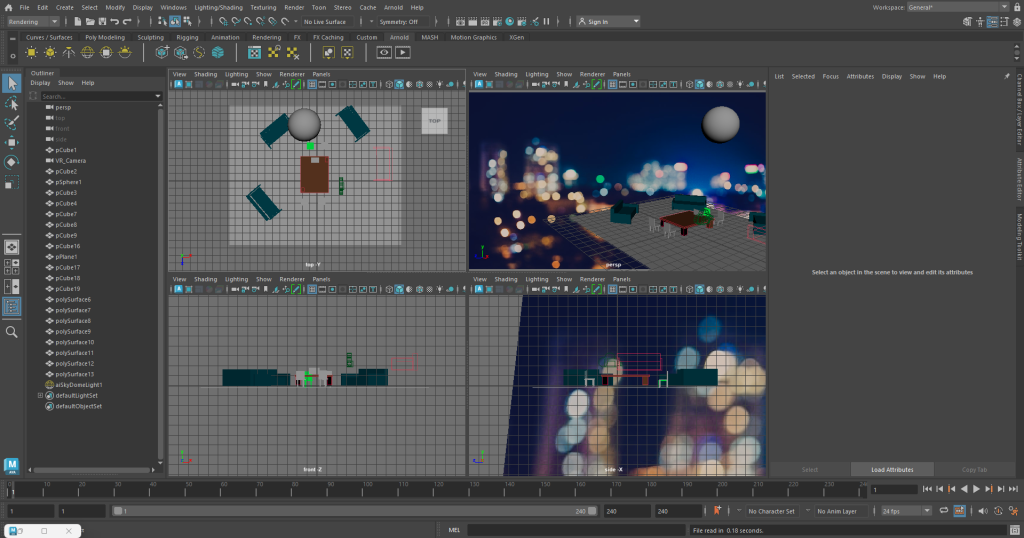
Image 3 – I have checked my design scene at all angles to make sure nothing is out of place then added an image plane. 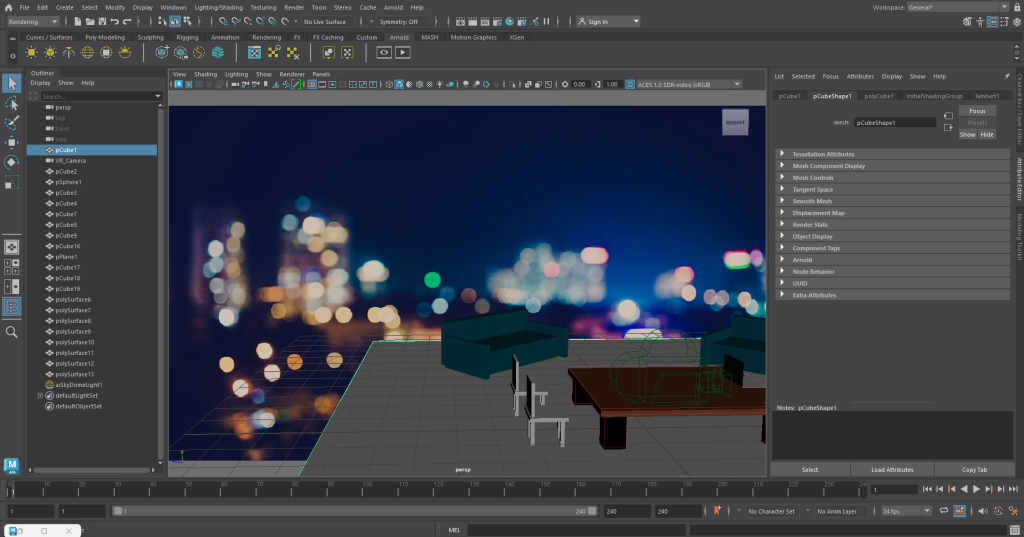
Image 4 – My scene before rendering the sequence.
I then placed a camera to place the point of view of how I’m going to be viewing my 360 video. I decided to place the VR camera towards the centre point of the whole scene I have created (image 4 shows this). I have done this by adding a new camera then scrolling down into the attribute editor at the Arnold tab, then setting the mode to over_under.
https://youtube.com/shorts/CQ457j95dvo
Finally, after creating my environment I went onto Adobe Premier to put all the rendered images into a sequence. I have done this by creating a new project then selecting the very first rendered picture which automatically placed all images into a sequence, I then exported the images into a YouTube video and as a media file.
After converting my design in 360 you can see how my design looks more realistic as you are able to look around despite it being a video. Although you can see this is my very first attempt to create a 360 render you can see how making your video to being interactive levels you your video as it becomes more interesting.
Before creating this 360 sequence I have made a previous attempt however the whole sequence outcome was poorly lit, to improve this I have added a SkyDome light which improved the outcome visually.
In my Maya break room I created I used simple shapes and basic contrasts between light & dark colour in a three-dimensional setting. I did not use any audio.
Frame VR
What is Frame VR?
FRAMEVR is a Perth based, digital production studio that creates ground breaking digital experiences that amazes and immerse audiences. Framevr.io gives you access to templates you can customise to create a VR experience. In this application you can design your own reality then you can immerse yourself in the simulation by connecting your headset with the website. In this website you are able to include sound, videos, documents or 3D characters.
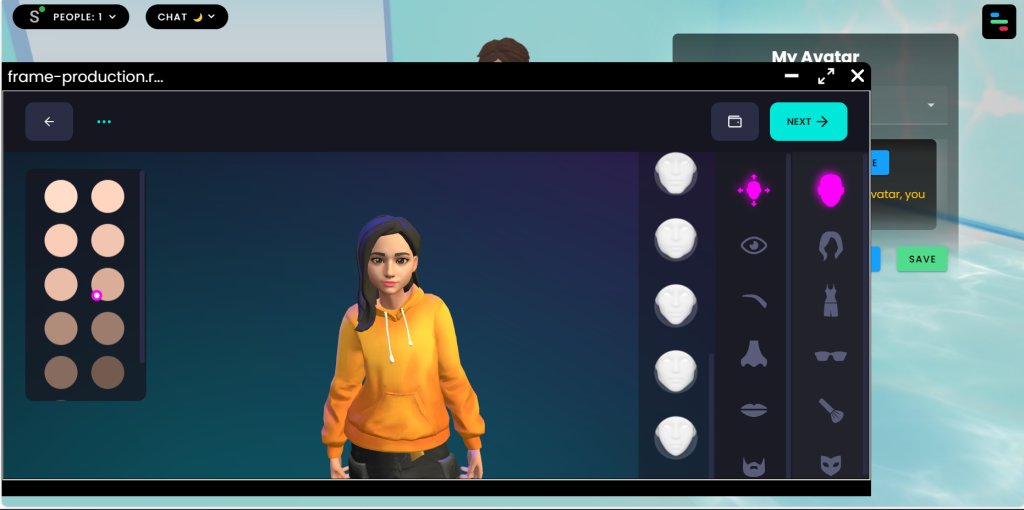
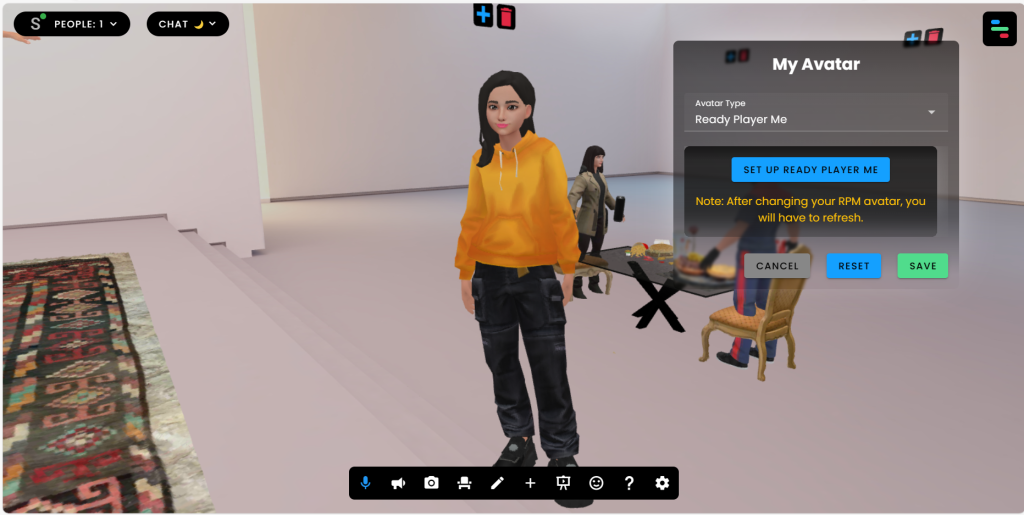
We were given the task to create on FrameVR to create our own metaverse using the tools provided by FrameVr. Upon viewing the webpage I was firstly made to sign up then to create a user name & an avatar. I was able to then select a level I would like my VR experience to be viewed on. I then can decide a username for my character then I was ready to launch my Frame.VR environment.
My avatar was then spawned into the main lobby of the chosen gallery I have selected. I chosen a more empty lobby as I am able to customise the area more to my liking. In the video above you could see me explore my surroundings and taking the tour of the lobby of the area I have spawned in. You can see I have a menu bar below for me to access the options FRAME.VR has to offer. The simple controls allow me to move my character in first person whilst having the ability to interact with the environment.
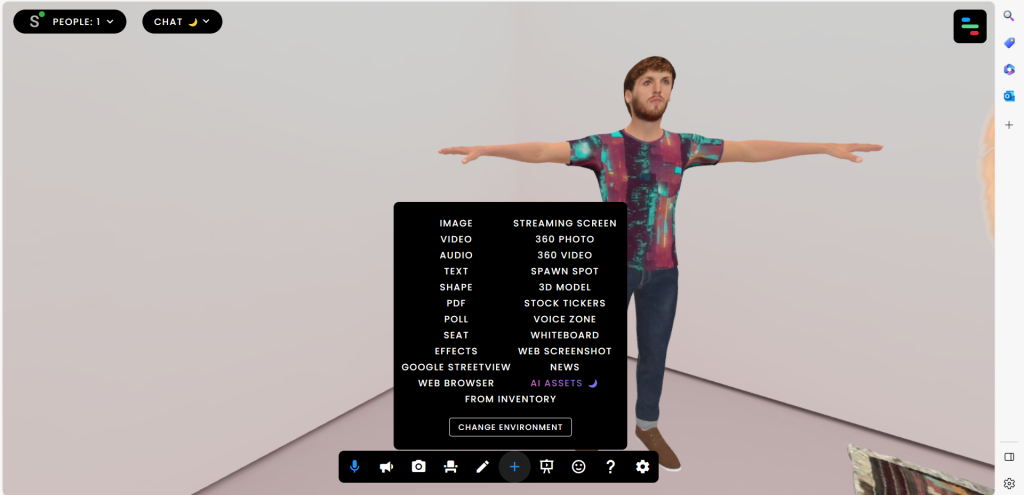
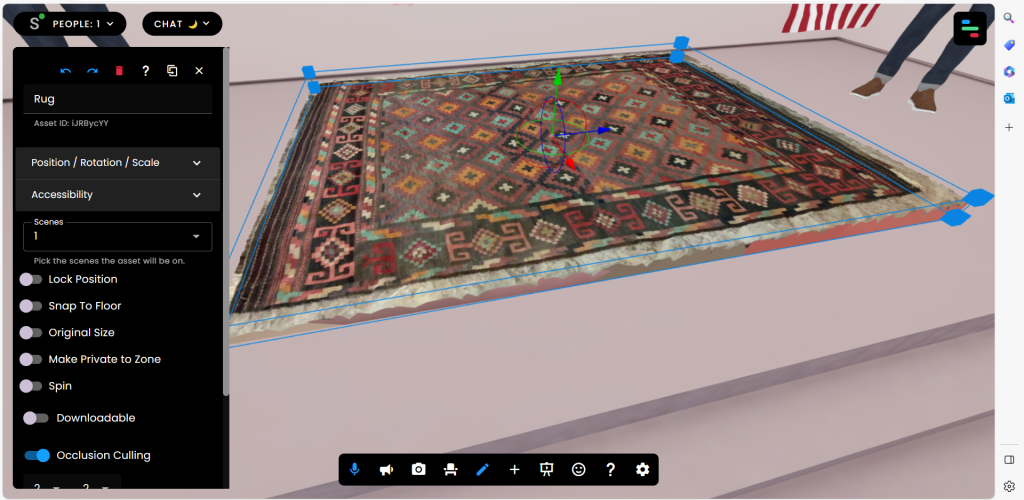
The two most very important tools are the ‘Edit Mode’ & ‘Add assets’ options on the tool bar. In asset mode you are able to import a range of media, not just static 2D images. You can add media such as 360 videos, videos, 3D models, Google Street view & effects to add a personal touch for a better VR experience. Edit mode allows you to change the position, rotate or scale an object. Furthermore you can make an object move on its own slowly and lock the position of the object to hold it in place.
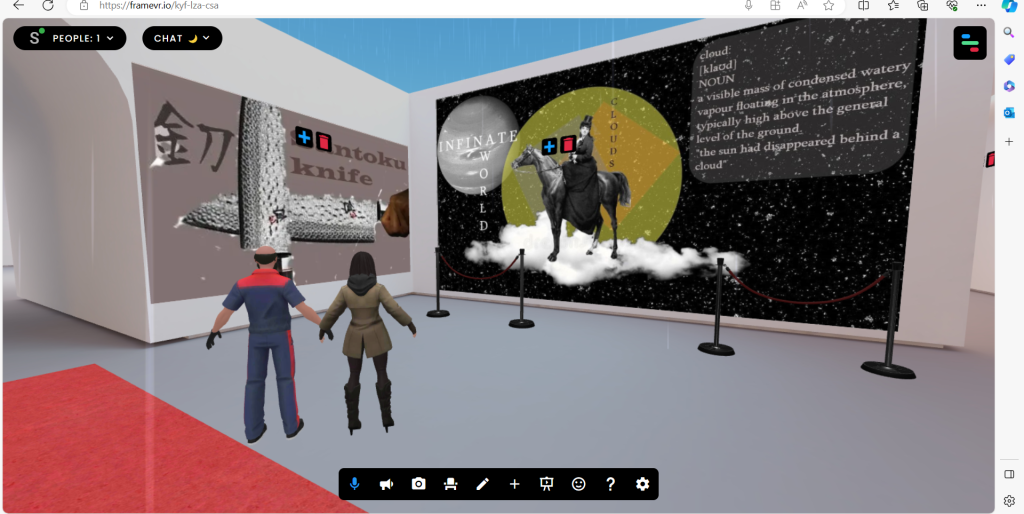
Image 6 – A screenshot of my WebVR lobby 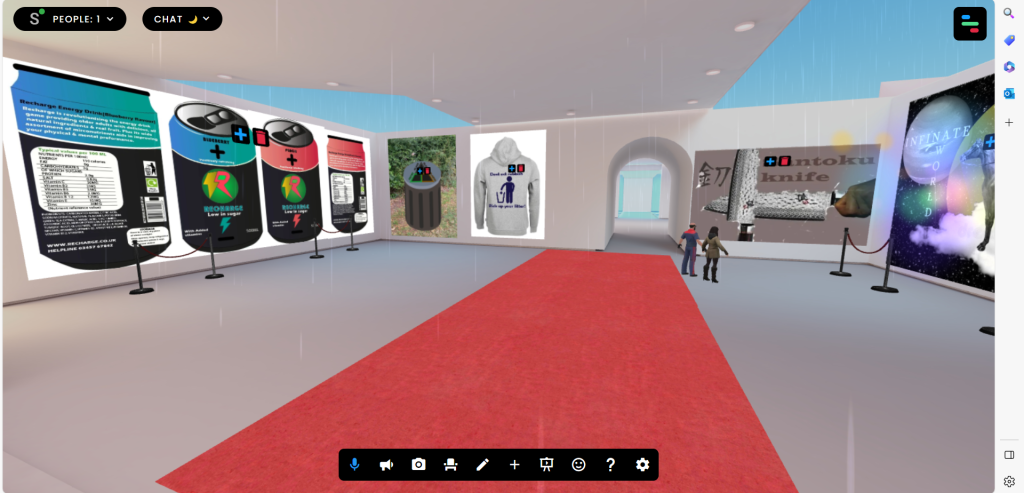
Image 7 – WebVR screenshot 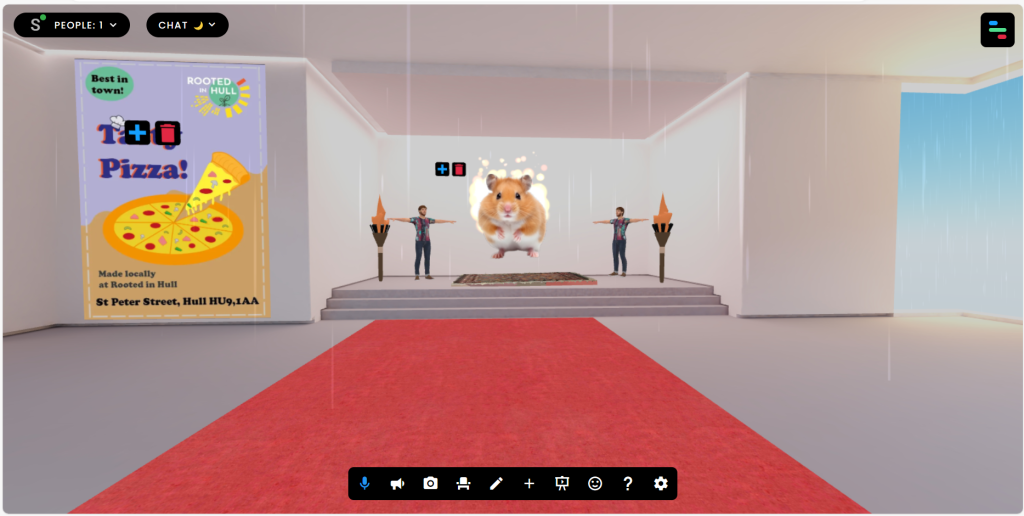
Image 8 – WebVR screenshot
After finally adding/editing my assets on my design I have made a small gallery onto my VR lobby. I have added previous artworks. The reason as to why I added my artwork examples into VR is to give the VR lobby a concept, I have done this by filling blank spaces using my own photos to convert a simple looking lobby into something more interesting. I have also added props such as a red carpet, 3D models & animation effects to go with my theme.
References:
“Crunchbase.” Crunchbase, 2014, www.crunchbase.com/organization/framevr. Accessed 22 Oct. 2023.
