Now that I have researched the adaptations, characters & the background research of Alice in Wonderland it is now time to bring those ideas in augmented reality. From here I will be painting characters that will be my assets for my augmented reality experience.
For my overall theme of Alice in Wonderland I will be heavily inspiring my art style from that of Disney’s Alice in Wonderland from 1951 as it is an overall memorable & iconic version of the classic tale. For my overall painting I will be painting props, characters and mostly backgrounds to create an immersive experience. My goal is to recreate landscapes from the AIW film to make the user experience escapism, to submerge the user in a different world and to make a difference on everyday life with iconic recreational scenes from AIW that they will easily identify.
Openbrush
To create my assets I will be painting in virtual reality, as using VR integrates easily with other digital tools so it would be ideal for augmented reality. I will be hand painting 10 assets using VR and I will be selecting at least 10 assets on Sketchfab. I will be making my work as original as possible by creating more of my own assets. I am going to be hand-painting most of the characters on VR as they require more detail so I can show more of my art skills on the assets.
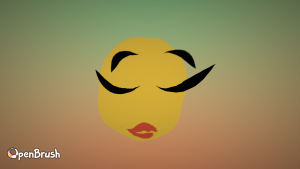
Image 1 – Flower head (early stages of the painting) 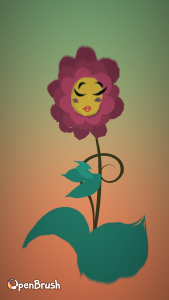
Image 2 – Flower painting almost finished. 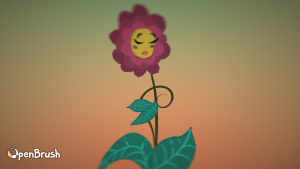
Image 3 – The flower painting in its completed form 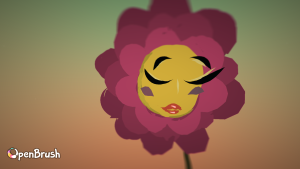
Image 4 – A close up of the flower woman’s face to show the detail of her features.
Images 1-4 shows a flower painting I have drawn on VR. I have began the progress by creating a 3D head, drew on a face then applied petals, to make my painting more realistic I added different colours of fuchsia to create depth & added highlights to the face to make the flower’s features stand out. To give it more of a surrealism feel I have been looking for I have added faces onto the flowers. To achieve this painting, I had to look for reference of the flower people in Wonderland then interpret them into my own style.
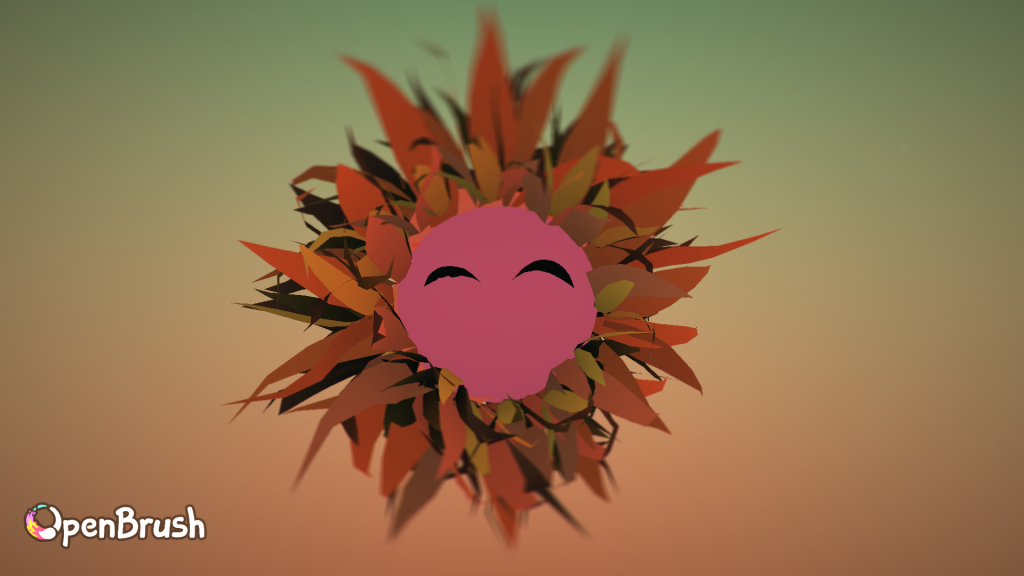
Image 5 – Beginning stages of painting the second flower asset. 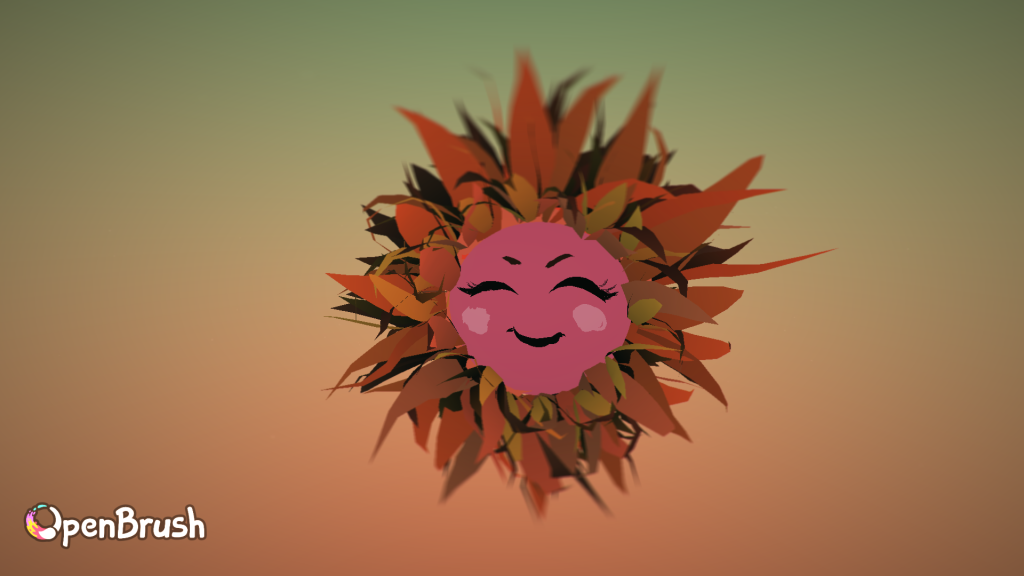
Image 6 – I have drew in the features of the plant person. 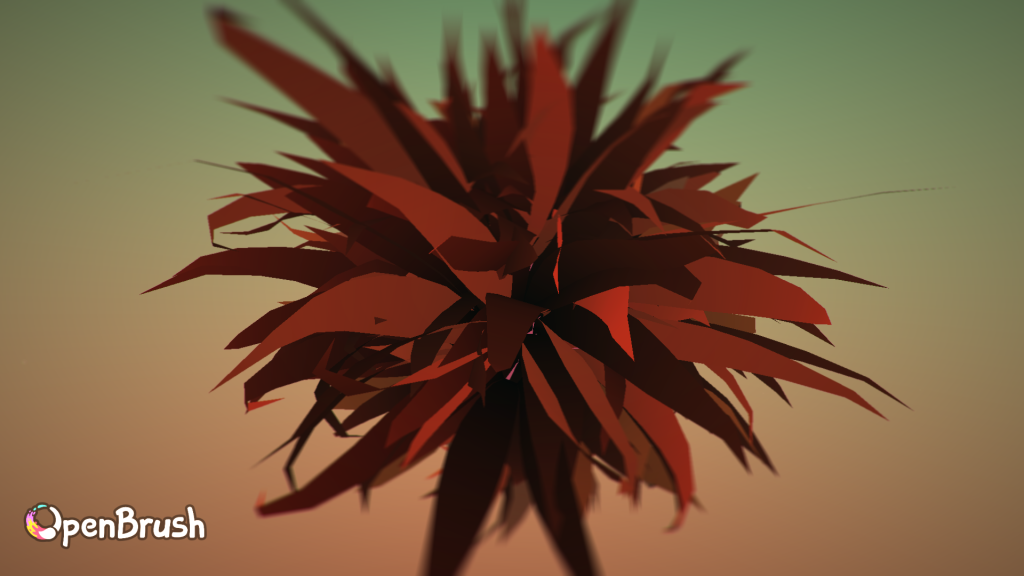
Image 7 – Back snapshot of the dandelion flower person. 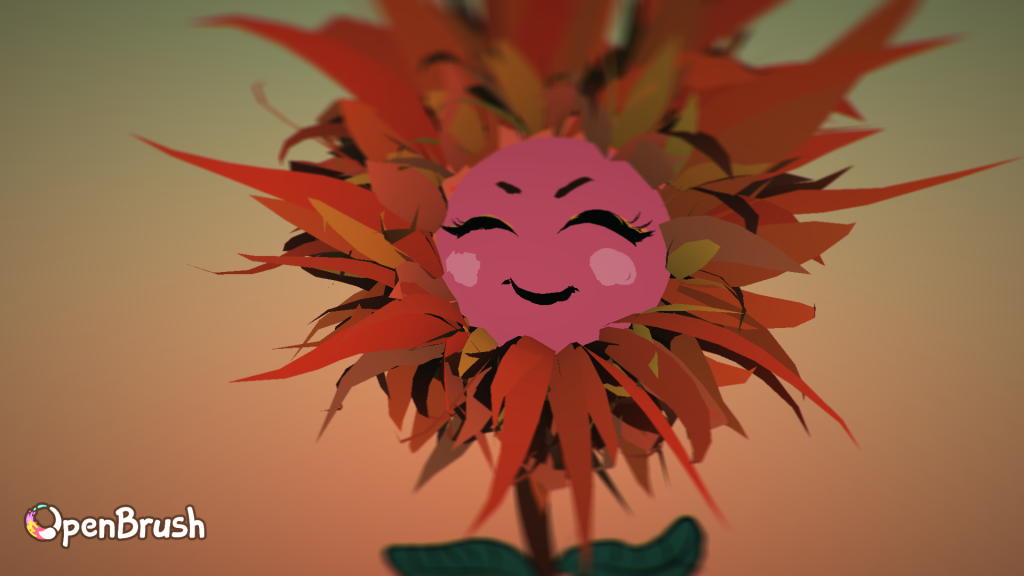
Image 8 – Flower person completed (up close)
Images 5-8 is another variation of a flower person, I wanted to add variation by creating a dandelion flower by creating spikes for petals with colours of orange & yellow to compliment the pink face of the dandelion creating distinction between the two flower people characters.
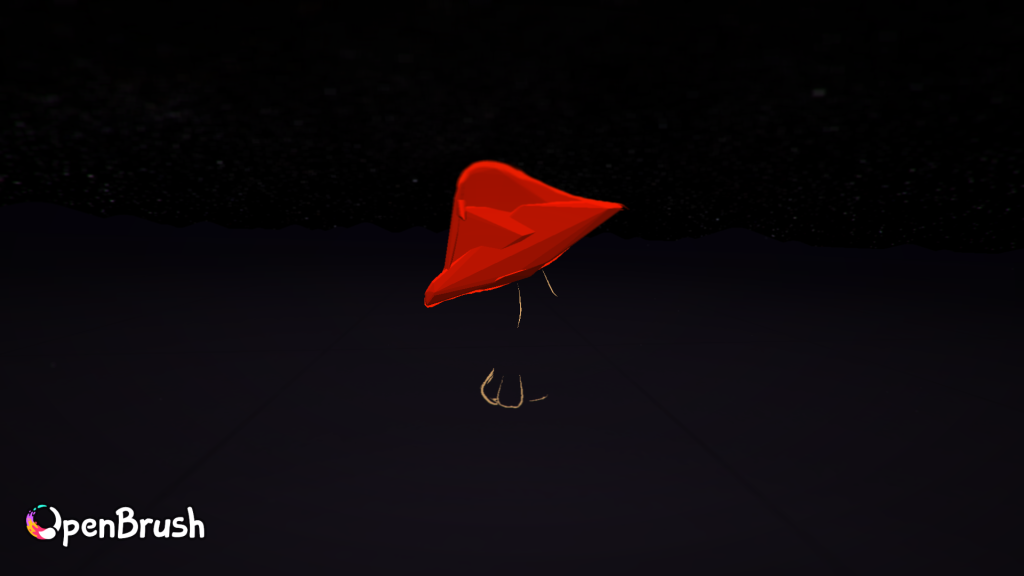
Image 9 – I have done an outline sketch of a mushroom. 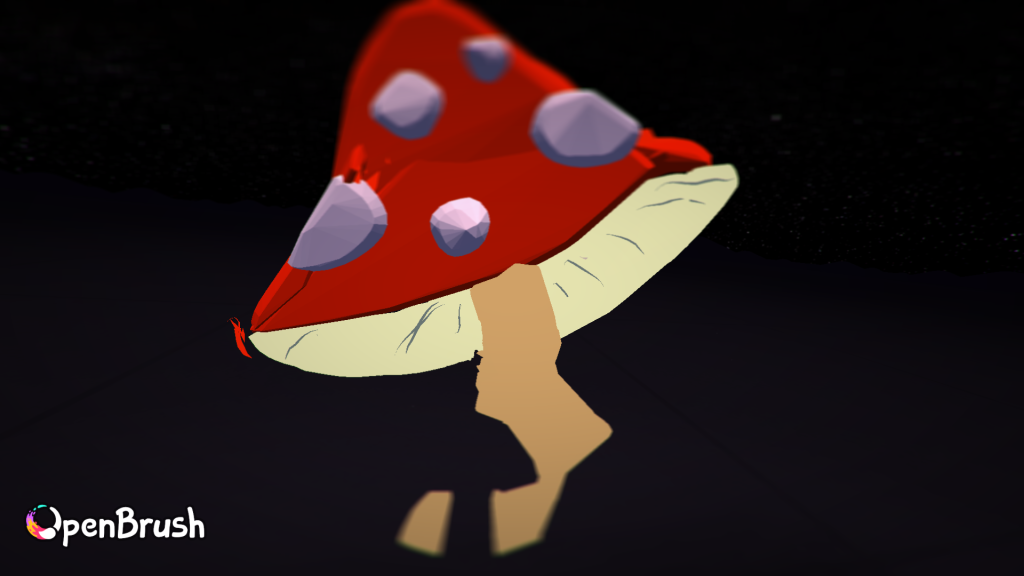
Image 10 – I have then began adding in spots on the red mushroom. 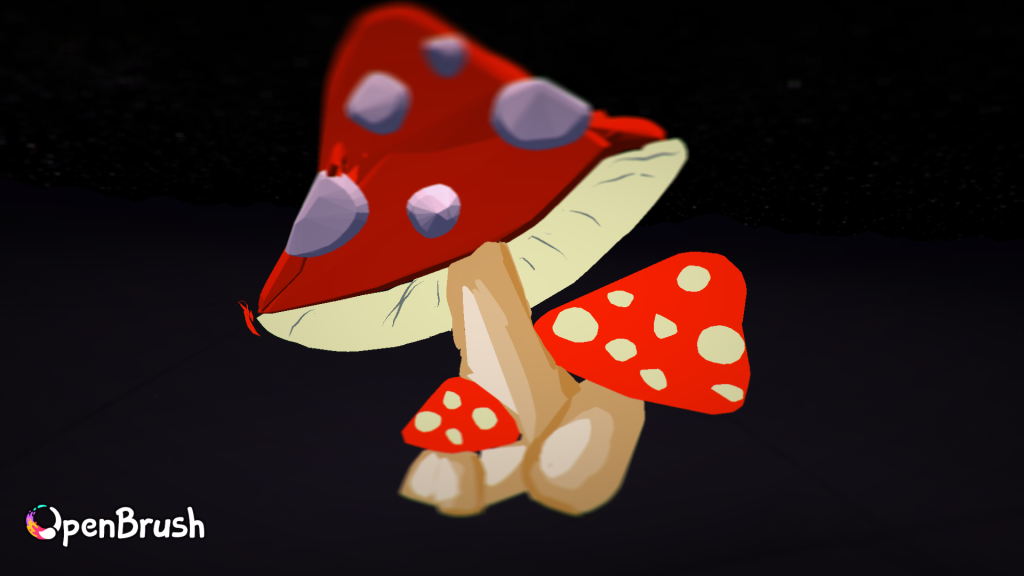
Image 11 – After completing the first mushroom, I have added a couple more as a group. 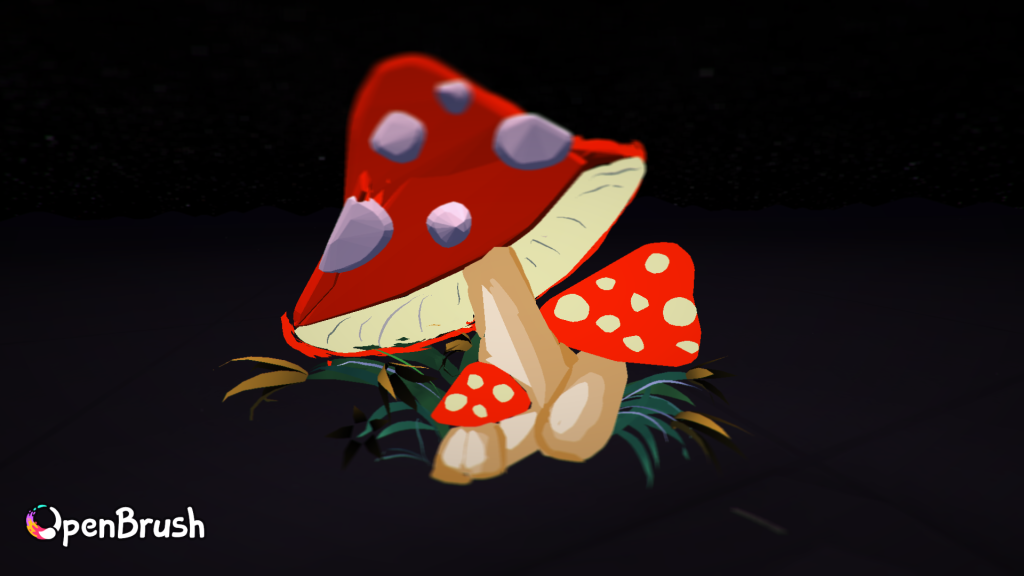
Image 12 – The completed mushroom asset with grass around it.
Images 9-12 is a painting of a mushroom, I have done this by using a 3D paint brush for a flat base to add the details on the mushroom, I have then drew the stem, added smaller mushrooms & then added grass to make it look like it is a part of a forest.
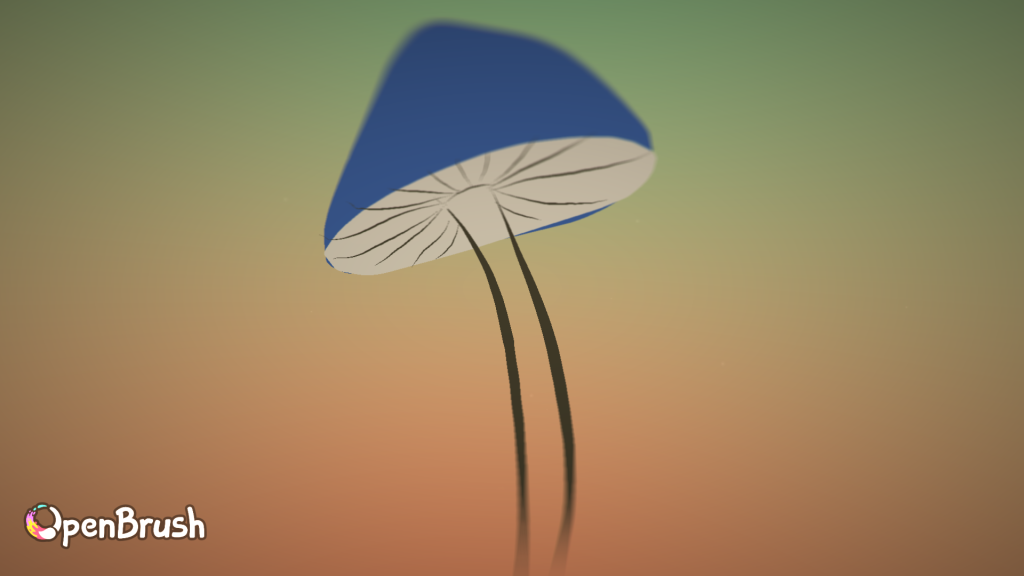
Image 13 – I have painted the stem & mushroom with the colours blue & brown. 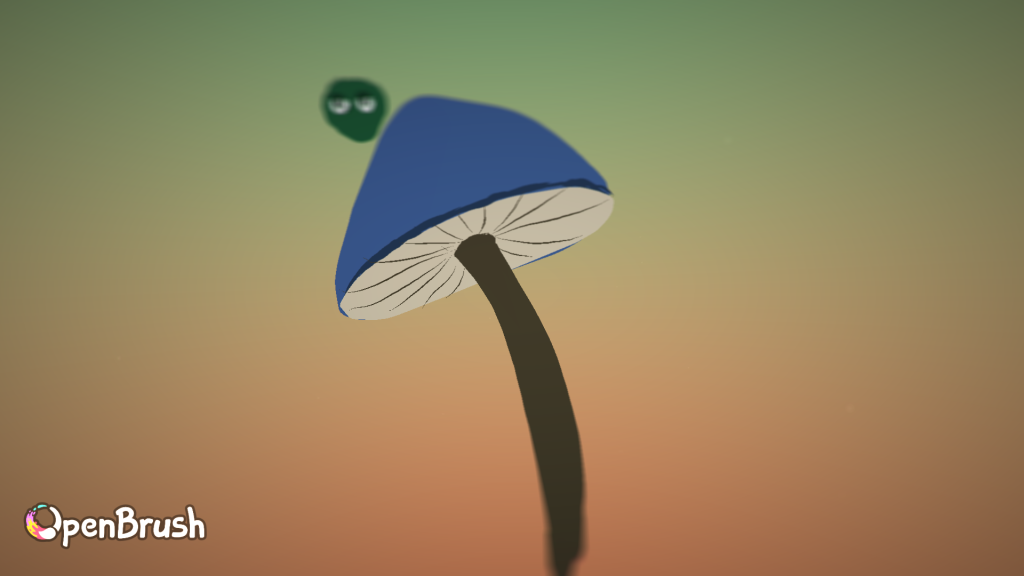
Image 14 – The mushroom was then painted in, I then began working on the caterpillar’s face. 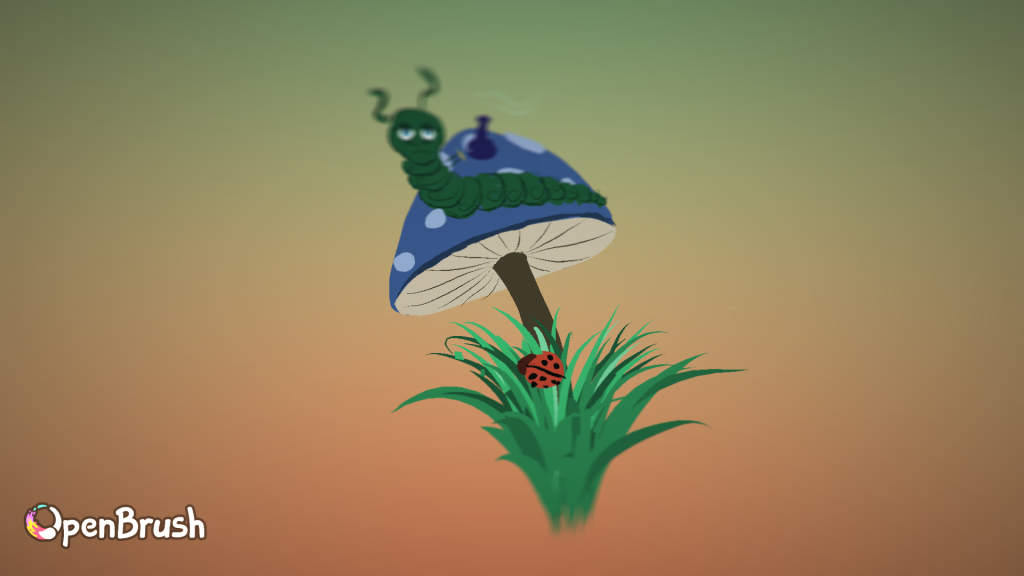
Image 15 – The caterpillar asset almost completed. 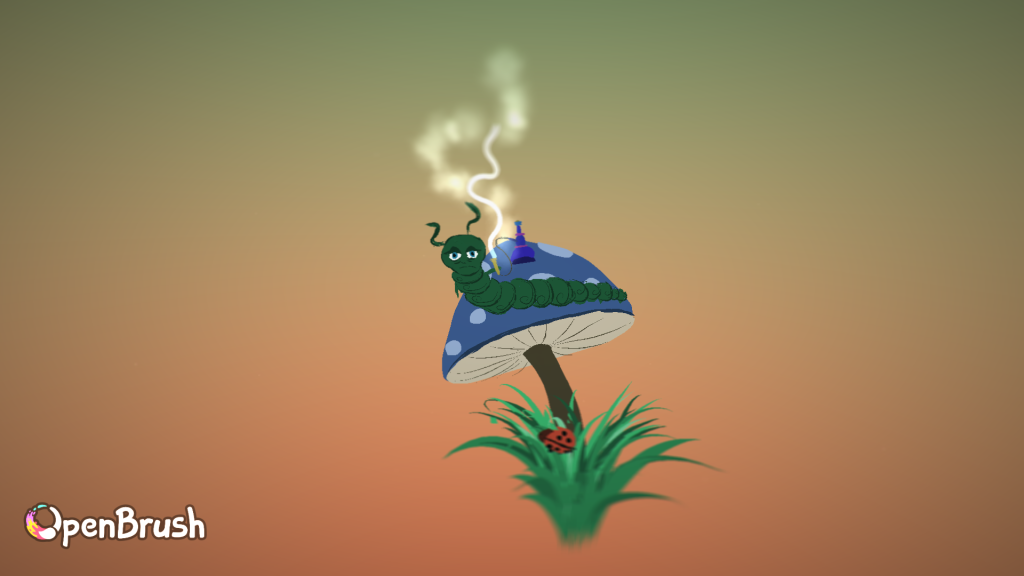
Image 16 – Completed VR painting of the caterpillar with the iconic spoking pipe.
Images 13-16 is a character drawing of the caterpillar from Alice in Wonderland, I began by drawing a mushroom, drew lots of circles to create the caterpillar before adding a smoke effect from his smoking pipe.
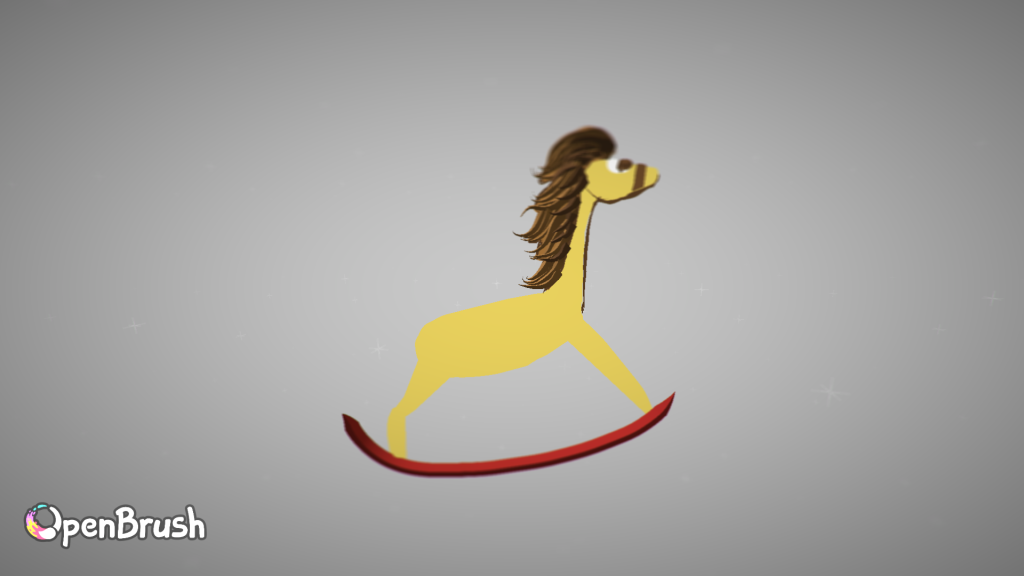
Image 17 – Horsefly with the base, outline & mane slightly filled in. 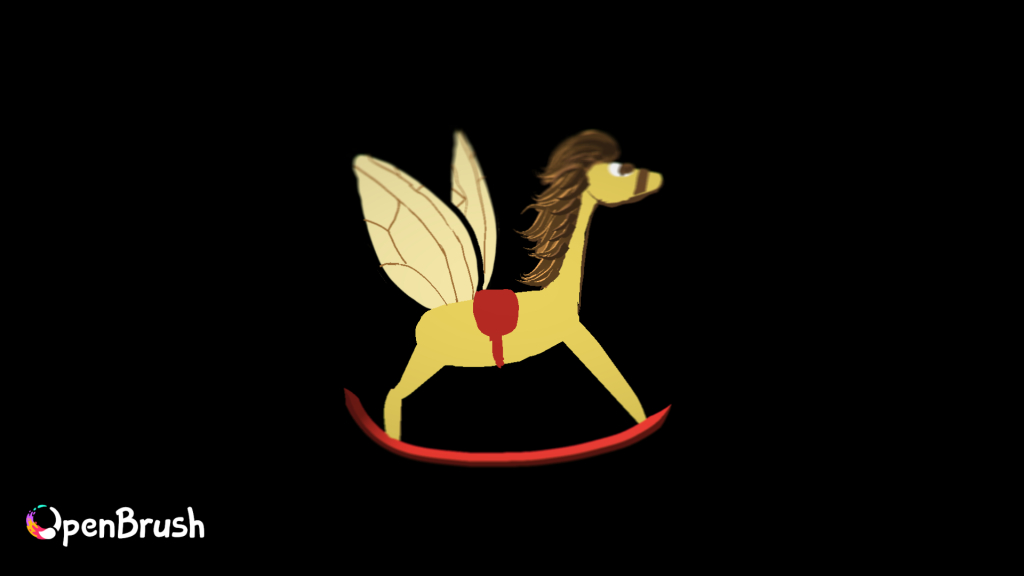
Image 18 – I added wings & a saddle on the horsefly 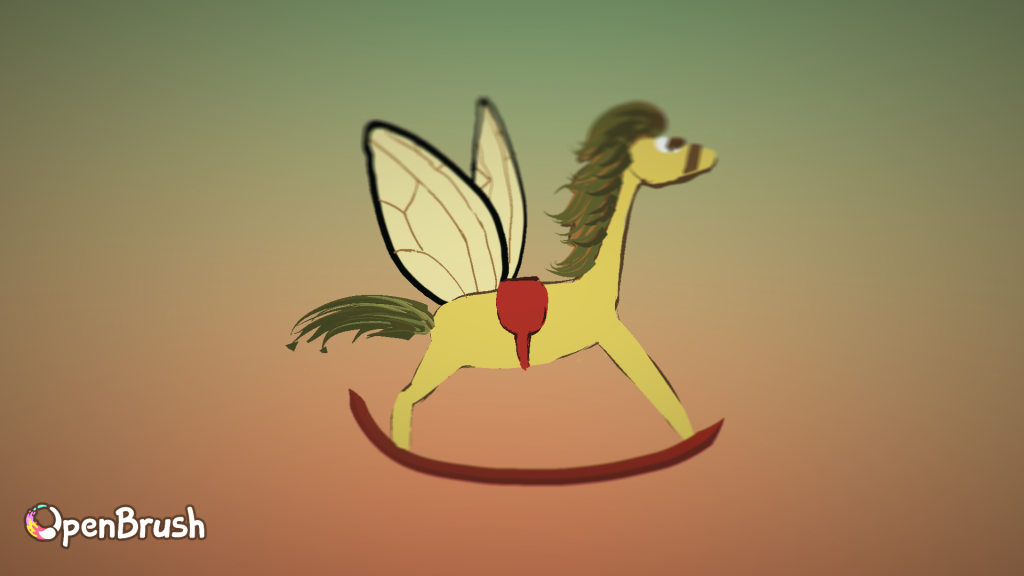
Image 19 – I then added more outlines & a tail onto the horse fly.
Images 17-19 are a series of stages I was in when painting a horse fly, To do this I used a regular paintbrush to paint the horse’s body. To create the horse’s mane, I used the spikes effect paint brush as it creates a three-dimensional effect.
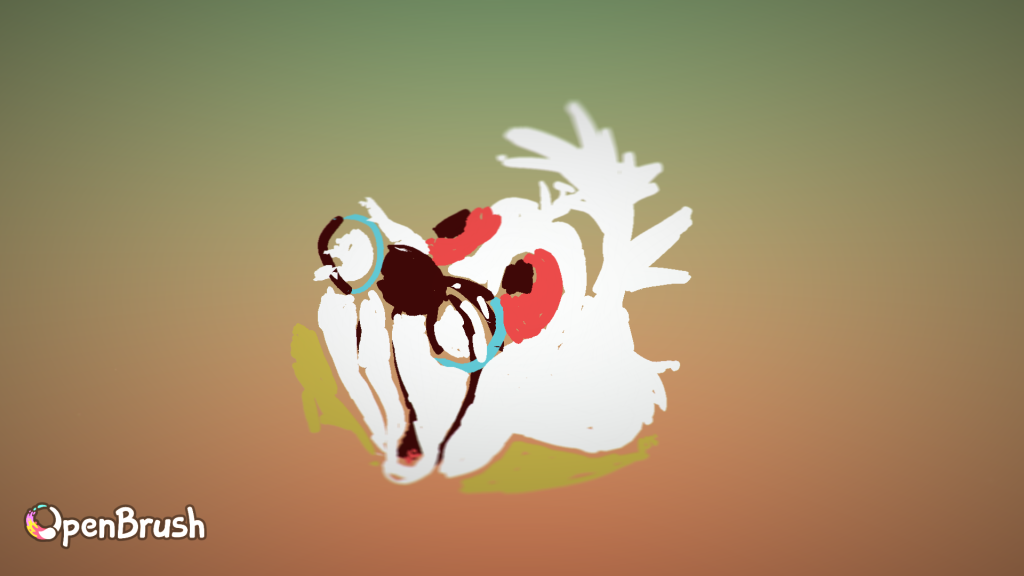
Image 20 – I have stated painting the outline of the White Rabbit. 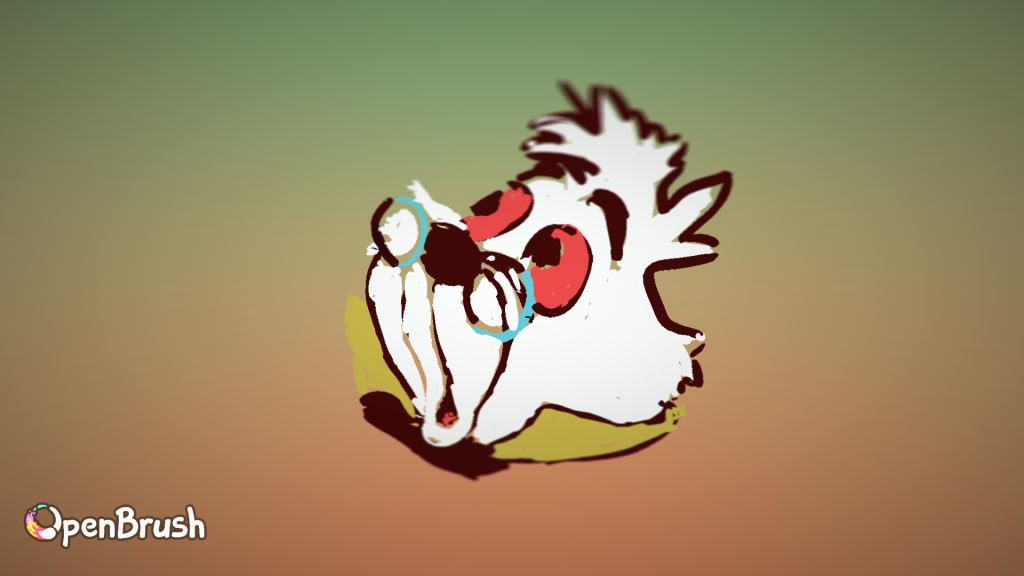
Image 21 – I added outlines to add definition. 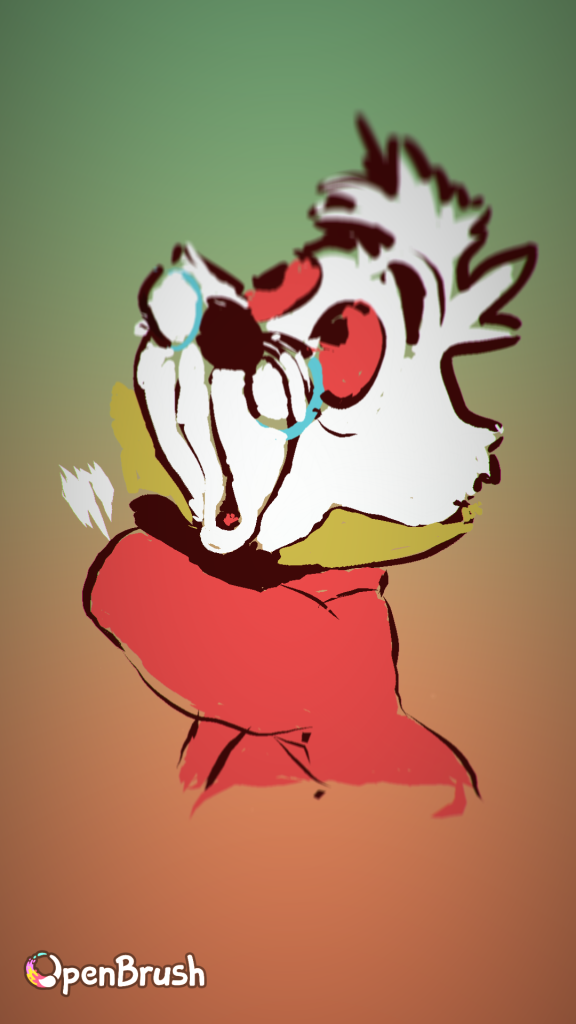
Image 22 – I then began painting the body & waistcoat. 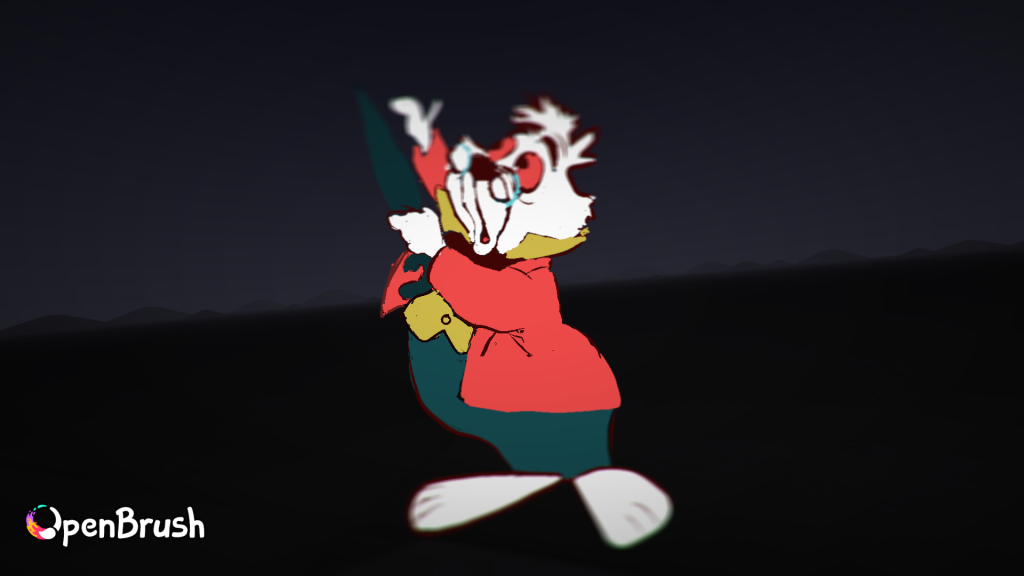
Image 23 – I painted the feet & trousers of the rabbit. 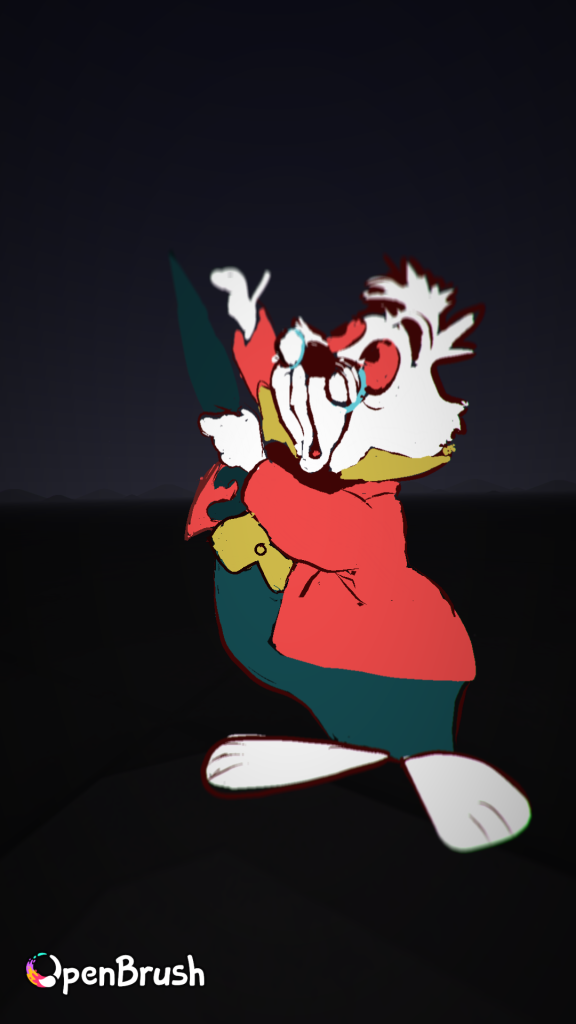
Image 24 – I also added an umbrella 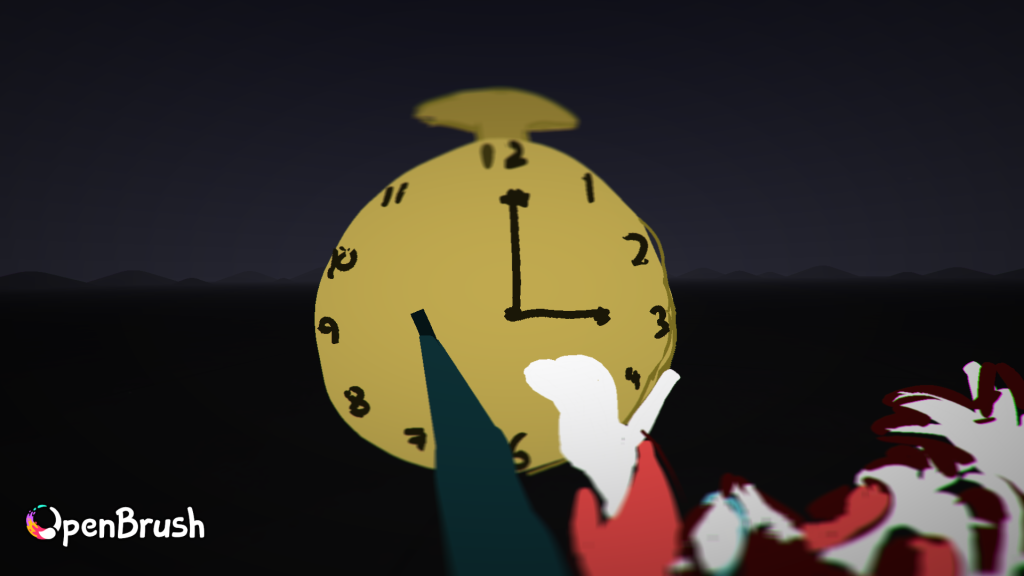
Image 25 – I drew the White Rabbit his pocket watch. 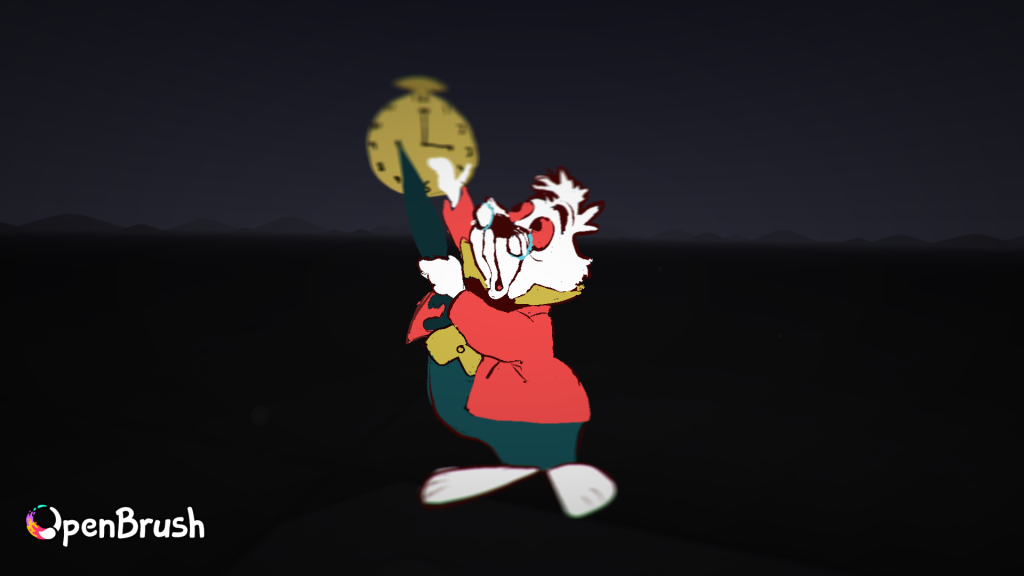
Image 26 – Completed painting of the White Rabbit.
Images 20-21 are snapshots of how I have painted the white rabbit. I have painted it in the same style as Disney as I believe it is more iconic. Here you can see the process of me painting the face of the rabbit then drawing an outline on top of it. From here I have began drawing the body, umbrella & then the pocket watch that are going to be his accessories. As this OpenBrush painting requires more detail I have used the zoom in/zoom out feature to fill in any details I have missed.
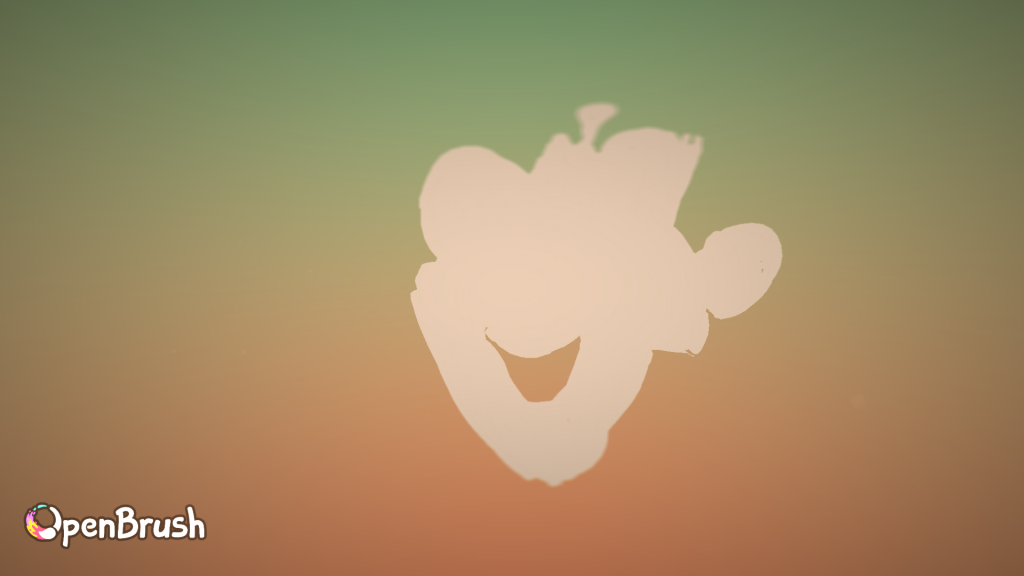
Image 27 – I used a pale pink colour to paint the outline of the Hatter. 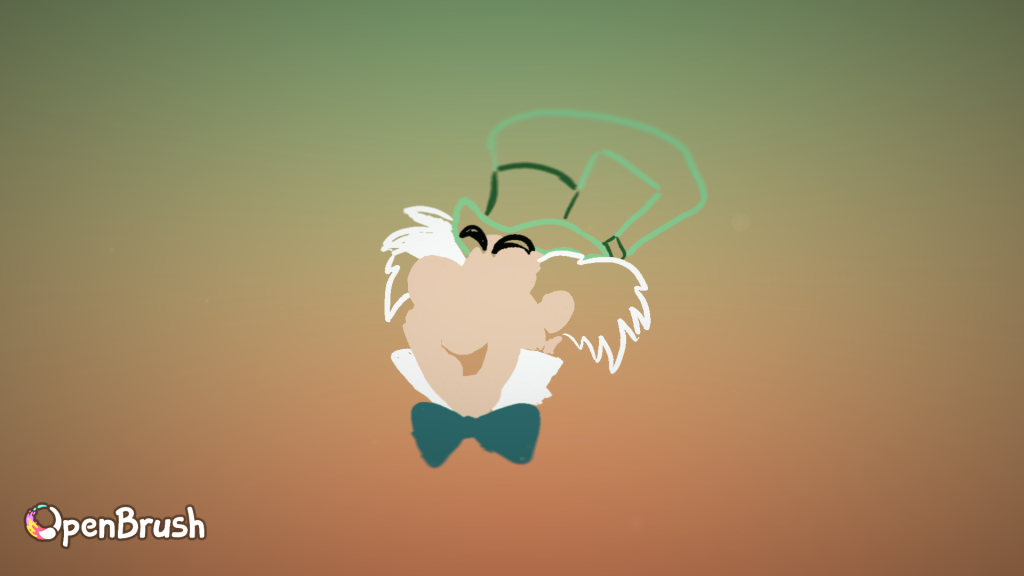
Image 28 – I added outlines for the hat & hair to fill it in with a white paintbrush. 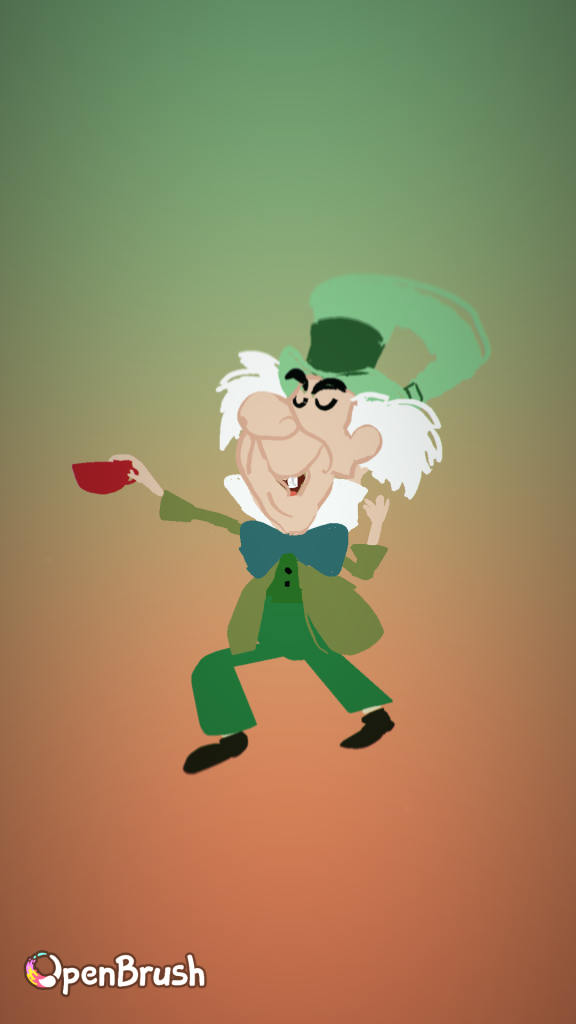
Image 29 – I then added his features, body & teacup. 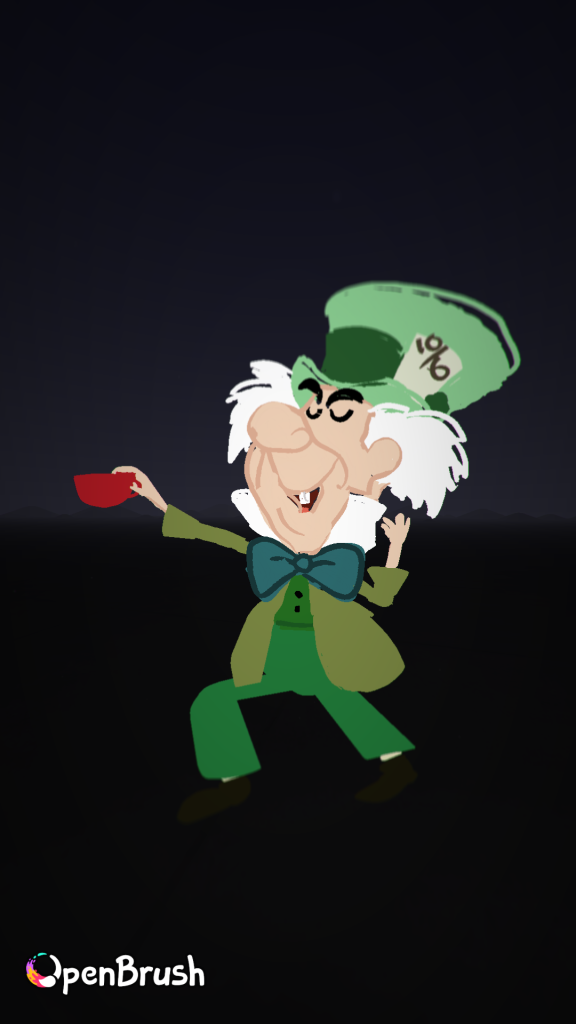
Image 30 – Completed painting of the Hatter.
Images 27-30 show the process of the mad Hatter from Disney’s Alice in Wonderland. I tried to replicate the style of Disney onto Openbrush. I have created this piece by using a light pink/beige colour for the skin tone of the Hatter. I then chosen the green colour scheme that would be appropriate and the most accurate for his ensemble. I then try mimic the cartoon style with the use of outlining the Hatter with shades that are a couple shades darker. I will be using this asset for when Alice joins him for the tea party.
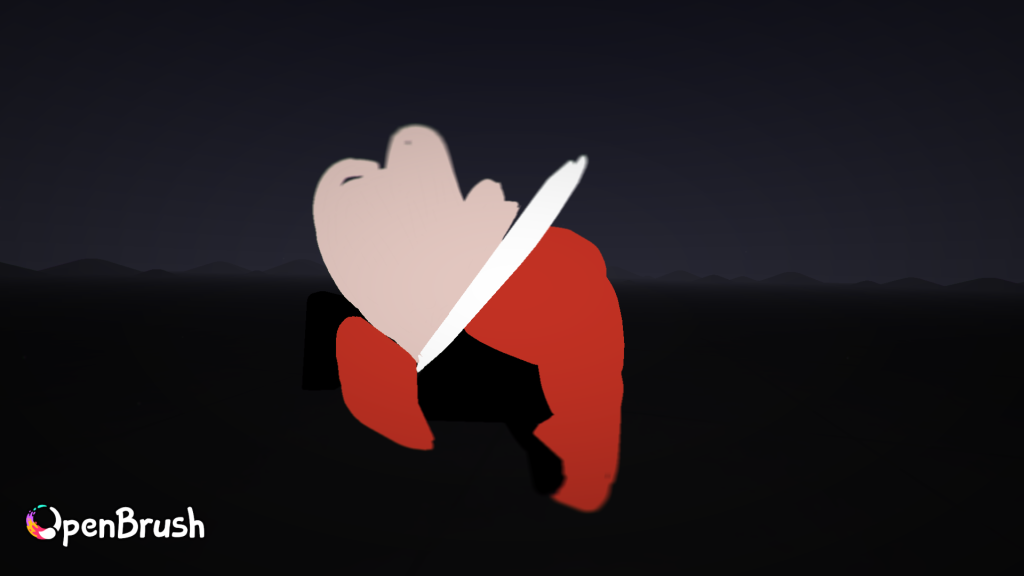
Image 31 – I began adding the shapes & outlines of the Red Queen. 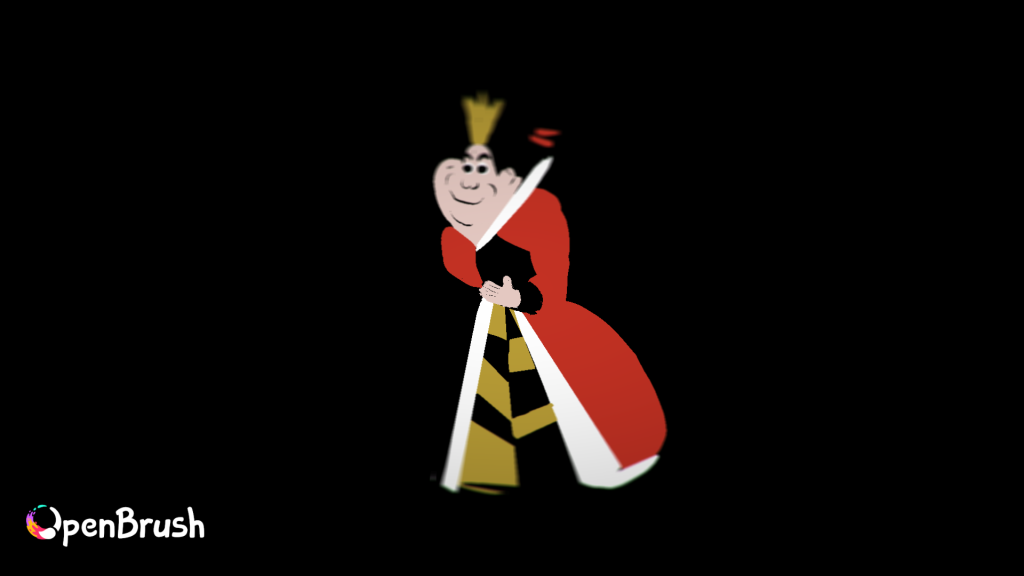
Image 32 – I then drew the body with her hands, crown & patterns on her dress. 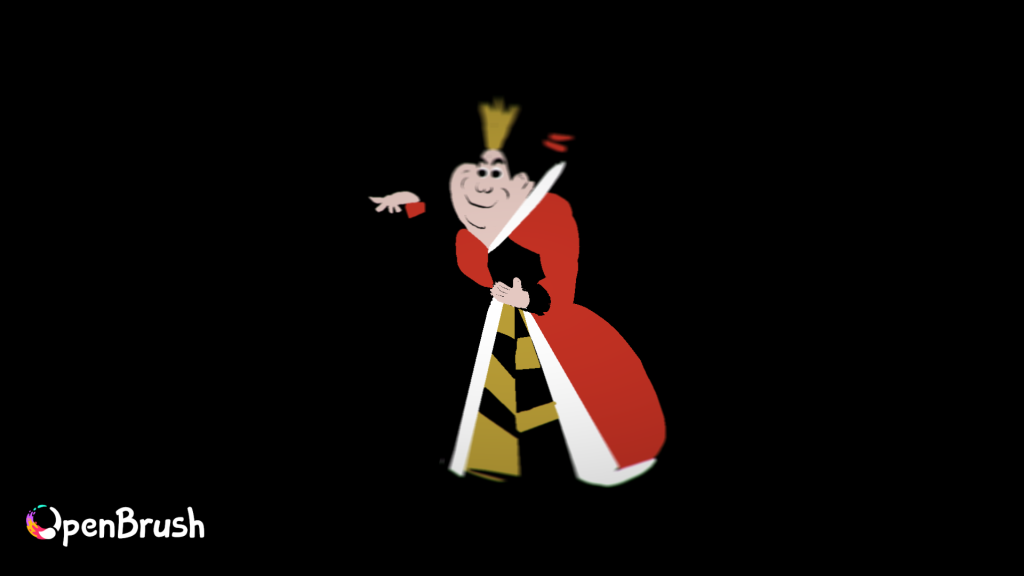
Image 33 – I painted the hands of the Red Queen. 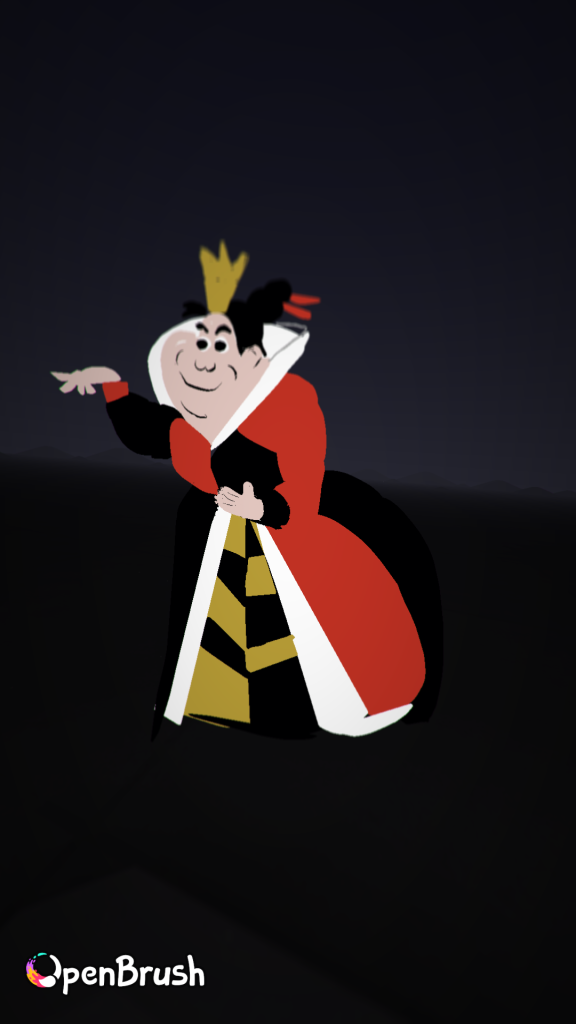
Image 34 – Is a snapshot of the completed painting asset.
Images 31-34 are a series of images of the painting I have made of the Red Queen, to create the Red Queen’s painting I have used a technique where I use the tool ‘unlit hull’ on Openbrush to create multiple shapes of the face & body. Secondly, I used a marker tool to draw the features of the queen. I have drawn her in a way where you can capture her authoritarian role, with a darker colour palette.
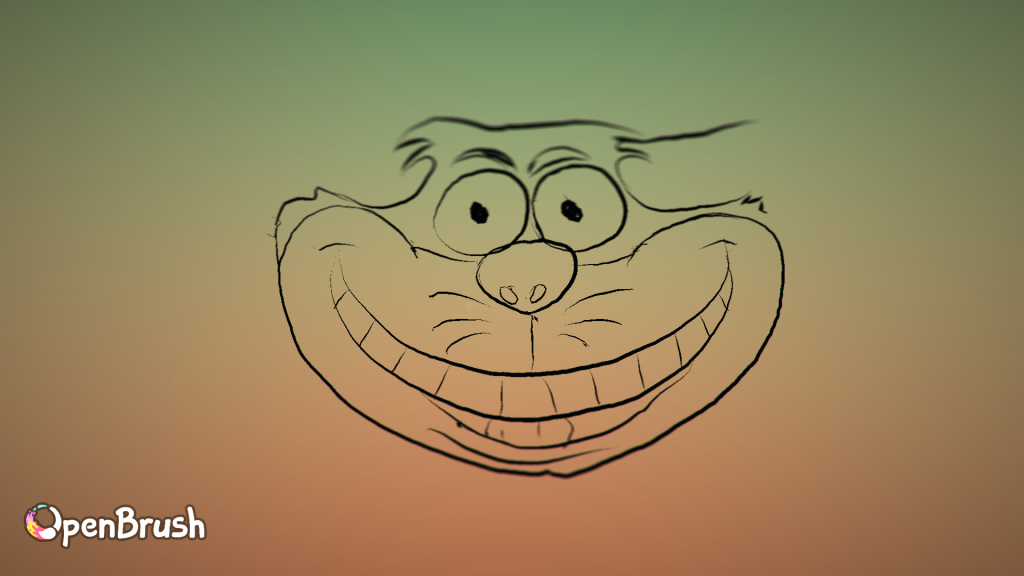
Image 35 – I began with a black outline. 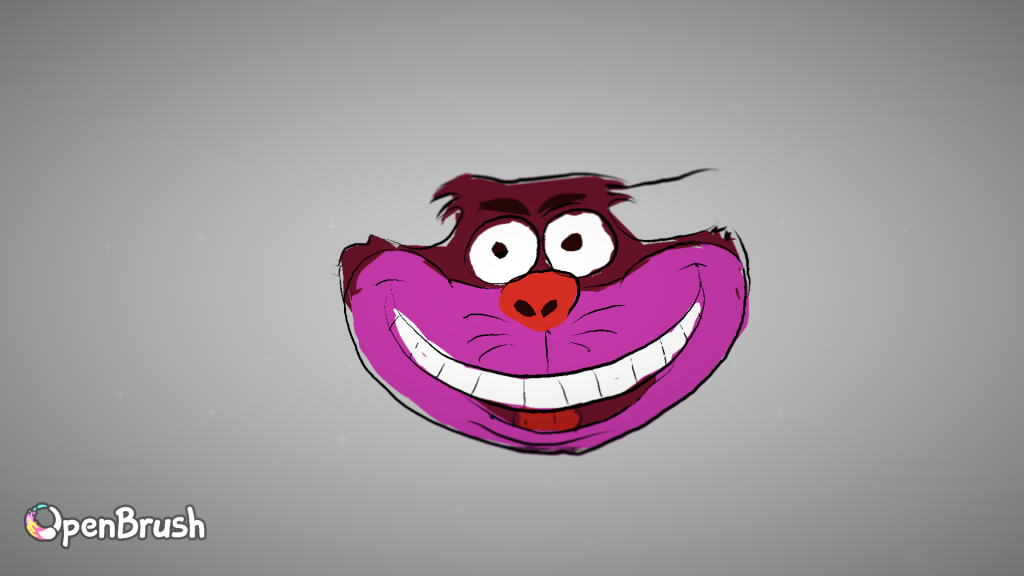
Image 36 – I coloured in the face of the cat with various pinks. 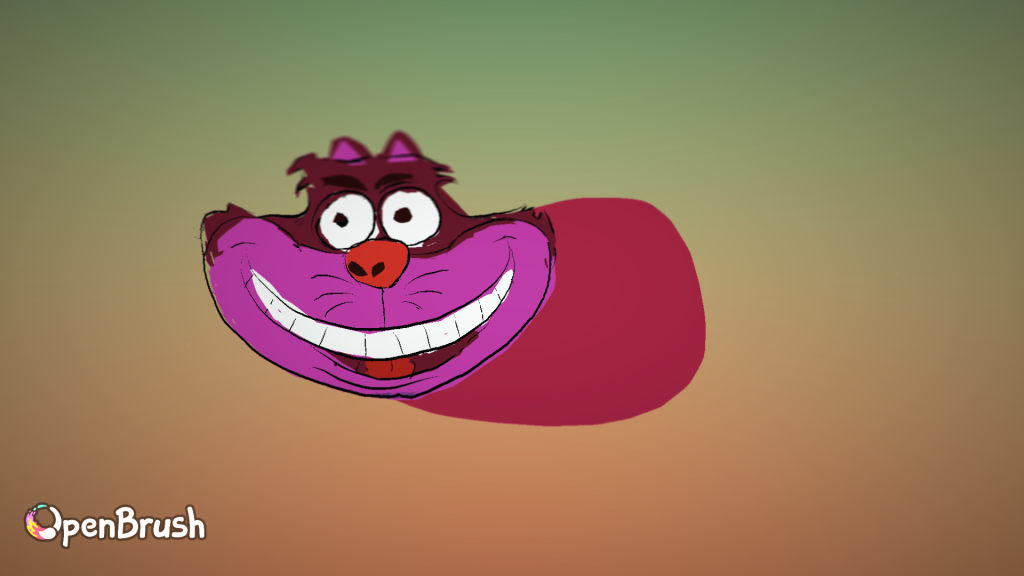
Image 37 – I them drew the body of the Cheshire Cat. 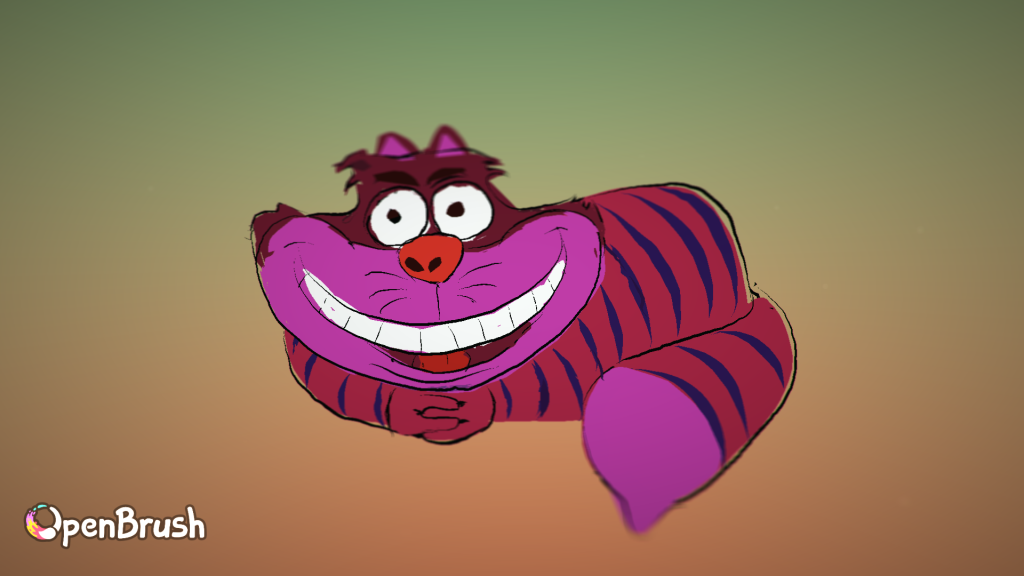
Image 38 – I added the hands, tail & ears of the cat.
Images 35-38 are paintings of what’s is going to be the asset of the Cheshire Cat, I began painting by sketching out an outline, making sure I capture the wide eyes & the mischievous grin of the cat. Next, I use layers to paint behind the Cheshire Cat, making sure the colours used fits into the frame. I have then used the palette tool to pick out a range of vibrant pink & purples tones to add in stripes. I then drew a round shape for the body before adding his claws & tail.
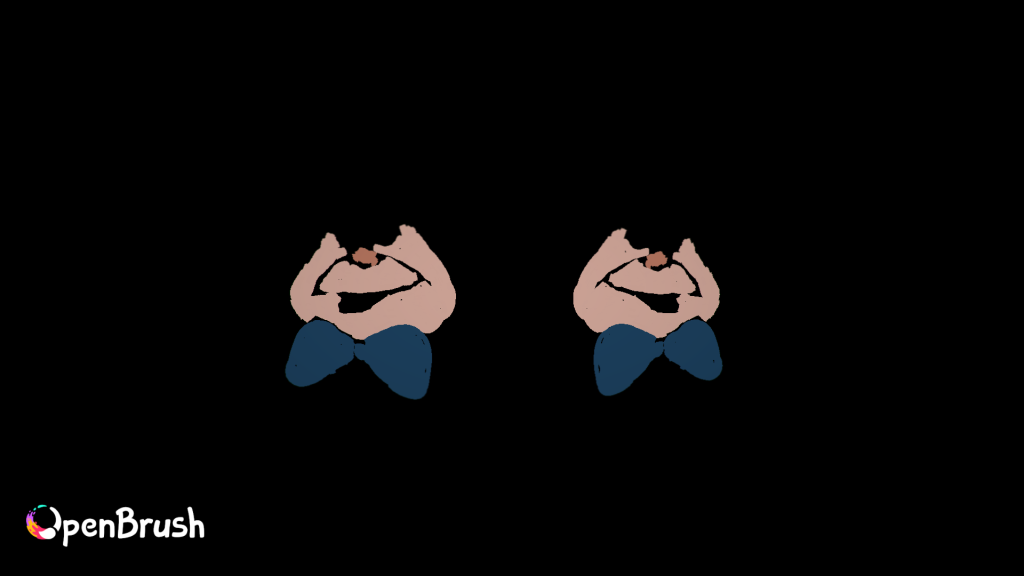
Image 39 – I used the mirror tool then started painting the face. 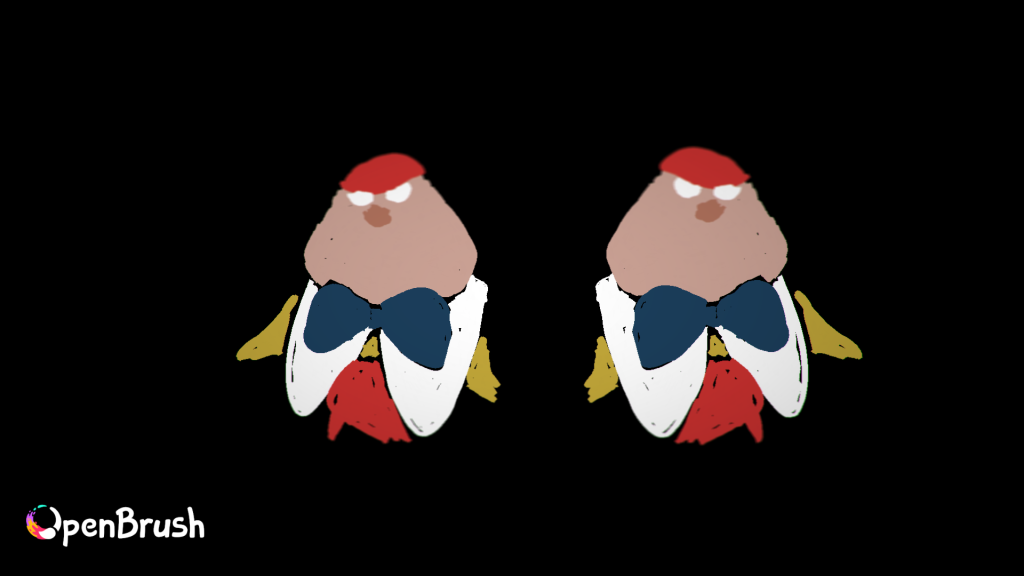
Image 40 – I then painted the full face shape then a bowtie. 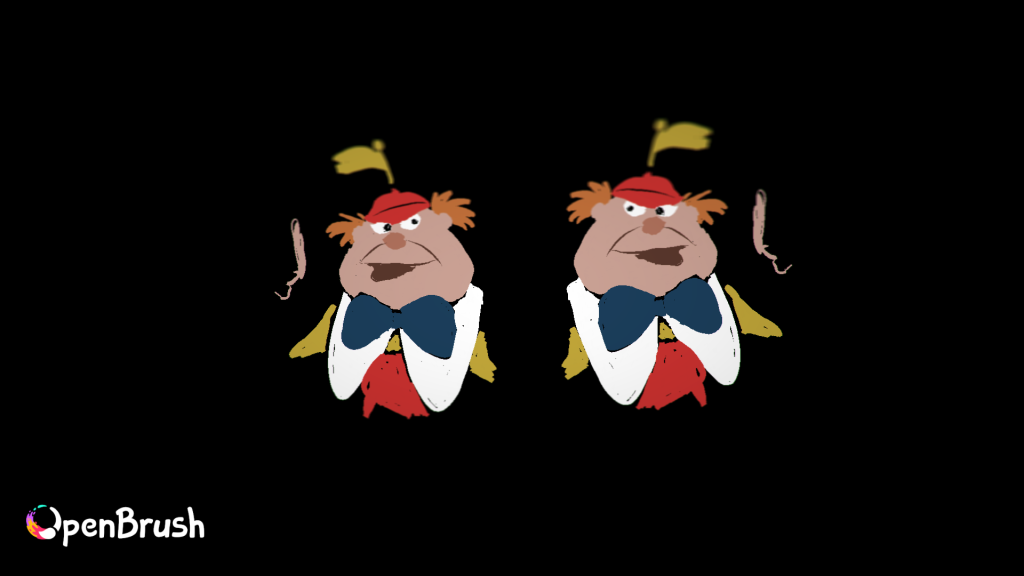
Image 41 – I drew in the hair & the facial features of both characters. 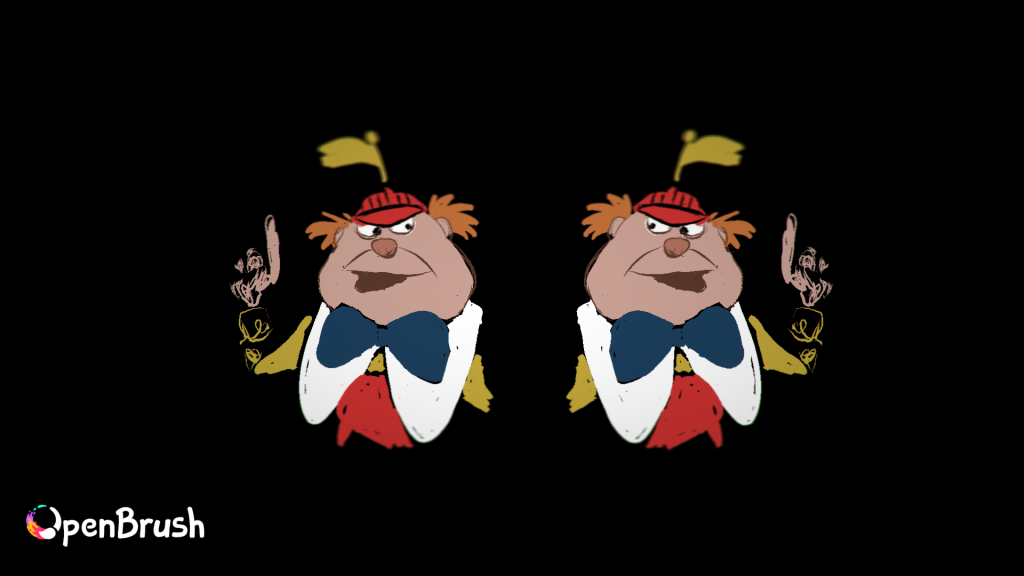
Image 42 – A closer look at both characters before drawing the body. 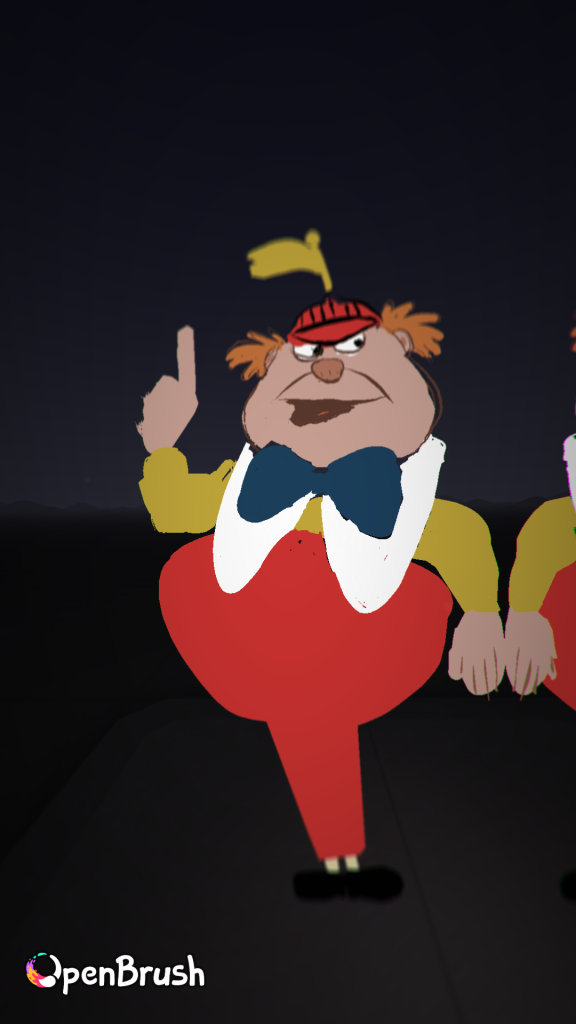
Image 43 – I then painted the body & limbs of both characters. 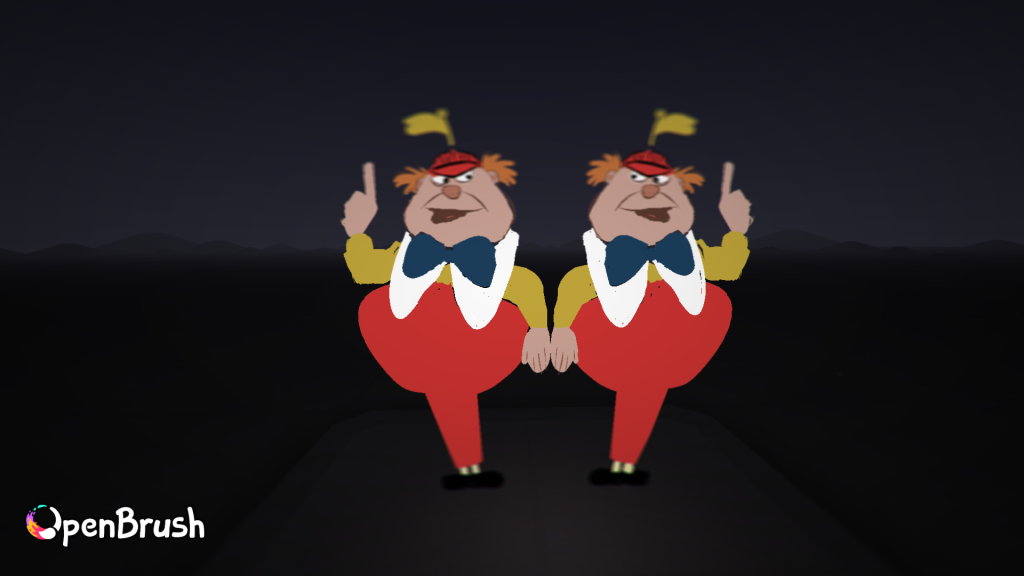
Image 44 – The completed snapshot of Tweedle Dee & Dum.
Images 39-44 are a series of snapshots of me creating Tweedle Dee and Tweedle Dum on Openbrush. I firstly began the process by painting an outlines of their faces, then I drew in their bowties. Next, I have began focusing on the bodies of both Tweedle Dee & Tweedle Dum and started sketching out their round shape, I then focused on painting the features of both characters, particularly the wide grins & round noses to reflect on the playful personalities they have. To make my painting look as accurate as possible, I have used the mirror tool on Openbrush to mirror the painting, making both Tweedle Dee & Tweedle Dum look identical to one another as they are seen looking identical in all adaptations of Alice in Wonderland.
Sketchfab
Sketchfab will be a useful application to download any necessary assets I need to enhance my project visually alongside with my Open Brush paintings, Sketchfab has a library of assets I can choose from to enhance visual appeal to my scenes. I will be collecting some assets from Sketchfab to add onto my own VR assets that I will be hand-painting to add variety. I have collected several assets from Sketchfab that will compliment my AIW surrealism theme. I have collected mainly props or assets that would compliment the AR environment for Alice in Wonderland.
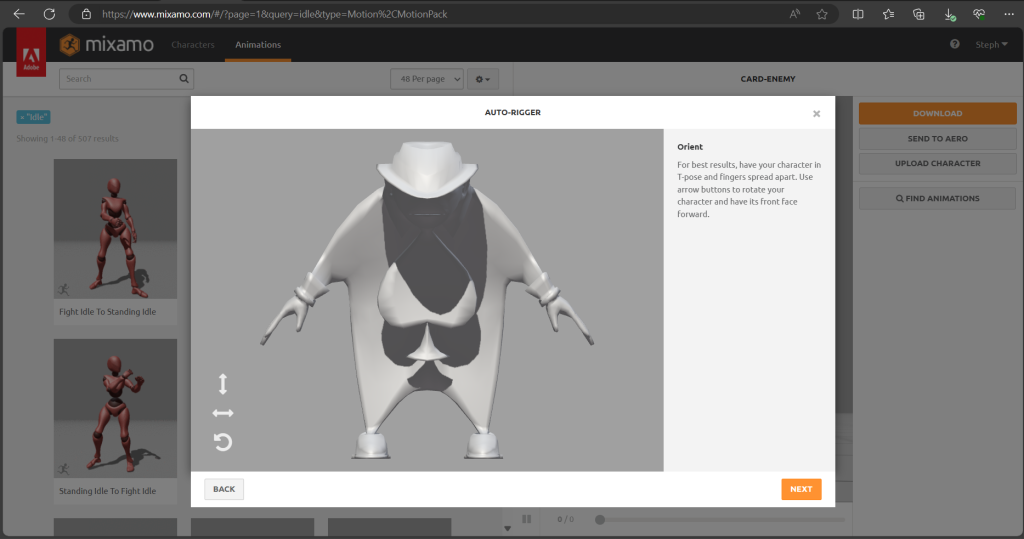
Image 45 – I picked character to test animations on. 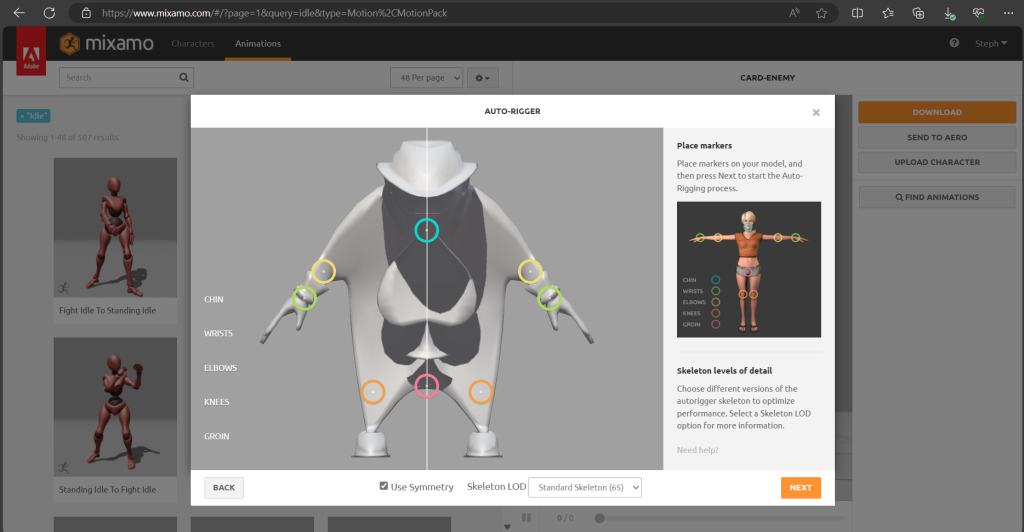
Image 47- I added markers to the character to enable the animation. 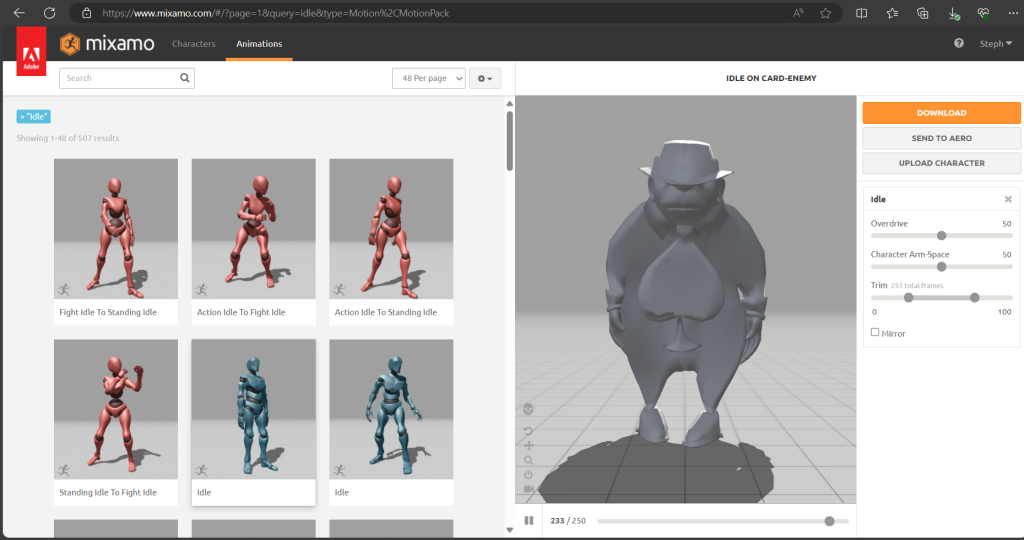
Image 48 – I began looking at the library of animations that would be useful for the scenes for my augmented reality.
As I want to increase immersion onto my augmented reality I have chosen to add animations onto my characters. Once I have collected my Sketchfab assets I have added animations onto them by using Mixamo, which is a platform that allows users to convert static 3D models into skeletal rigs to enhance your project. Mixomo offers a range of pre-made animations that you can use on your 3D models that have been made with motion capture. Here I have practised with a character on Sketchfab to experiment with various animations that i can transfer onto Adobe Aero. I have done this by downloading an asset from Sketchfab, converted the character into either an OBJ or FBX format to enable animations then uploading the character on Mixamo. From here I am able to then export the FBX file onto Adobe Aero. However, in order to create animations onto my Sketchfab assets I had to take it a step further by using Blender to apply the animations onto. I have done this by adding the animations of the character into one scene by combing the characters together, deleting them & then using the timeline to create the desired sequence I need.
In conclusion, the process of painting the assets then being able to animate characters has been a tricky yet fun exercise to test my skills of design & emerging technology as I had to create assets from scratch then emerge them to various applications such as Openbrush, Blender, Illustrator & Sketchfab to create animations for my surrealism project.
Adobe Aero
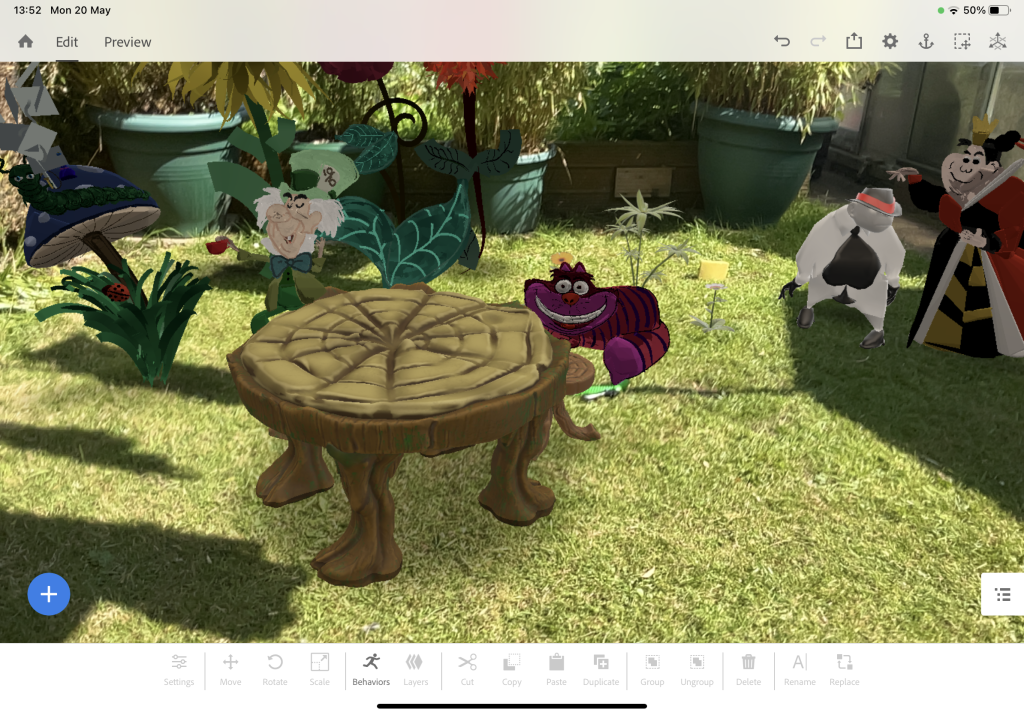
Image 49 – The Hatter & Cheshire cat 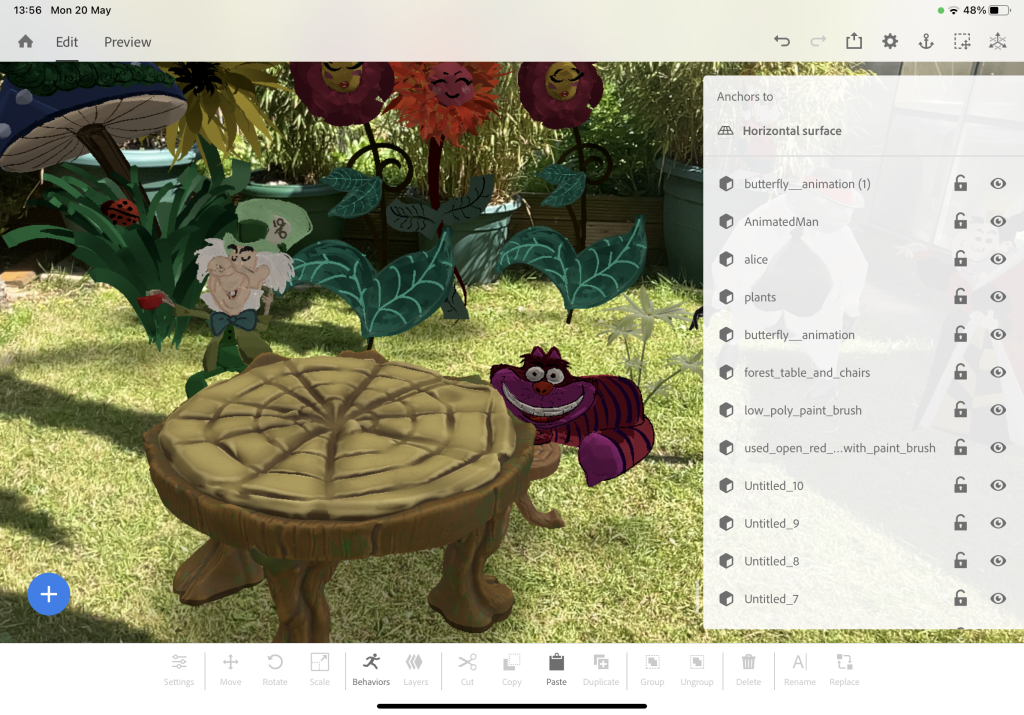
Image 50 – The Hatter & Cheshire Cat with the assets list. 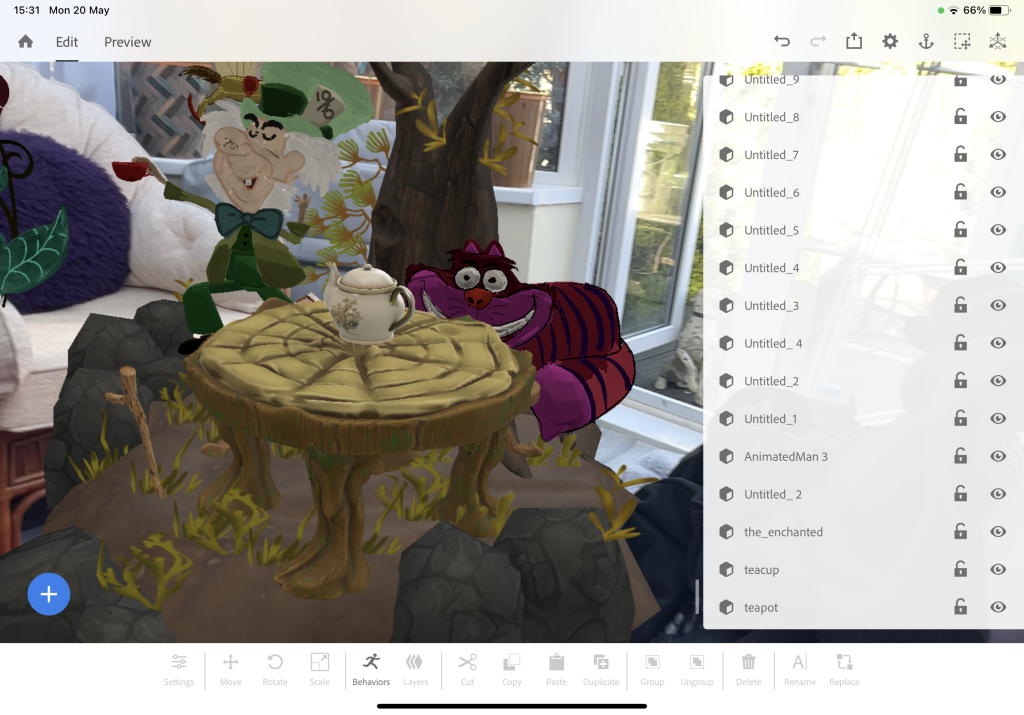
Image 51 – A list of all assets I have used in one scene. 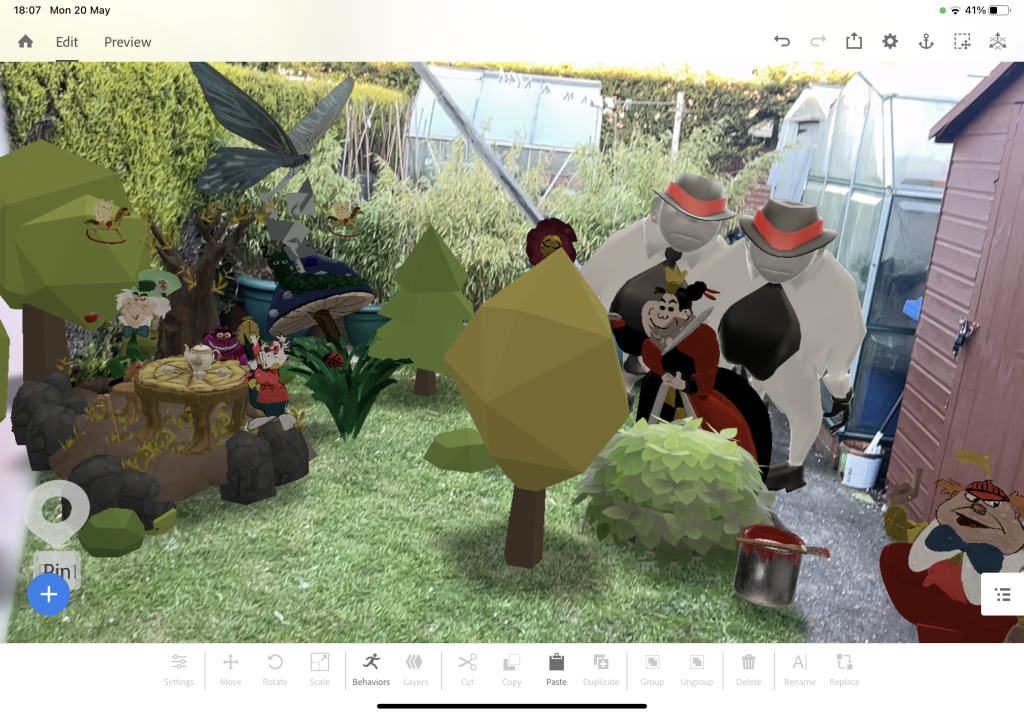
Image 52 – I added a tree forest asset to compliment the surrounding area. 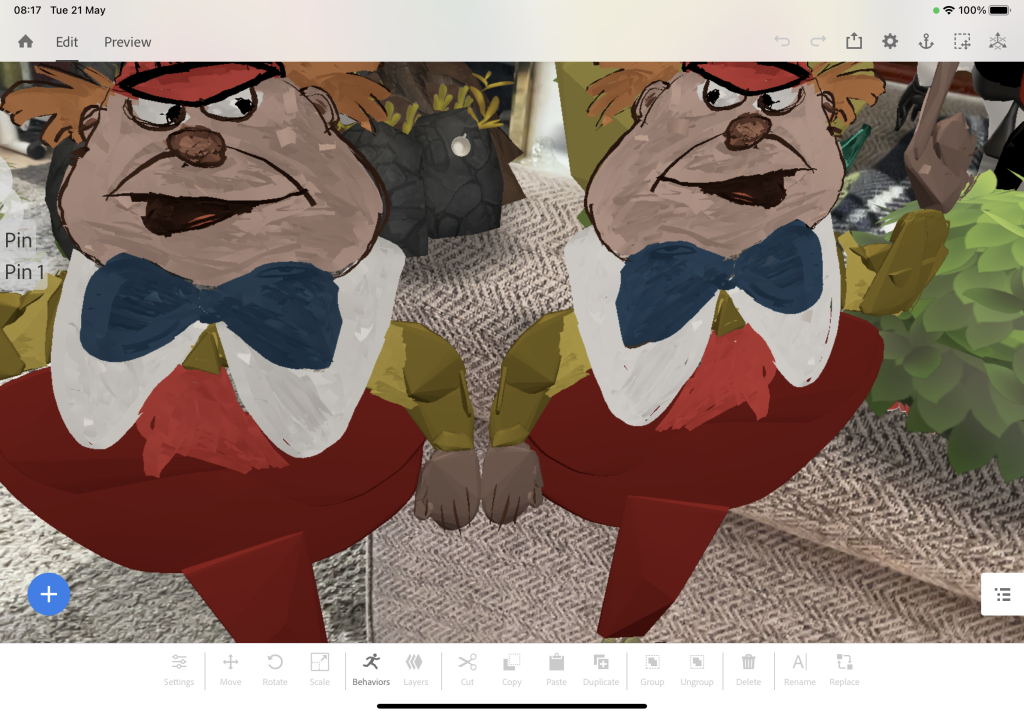
Image 53 – A close-up of Tweedle Dee & Dum 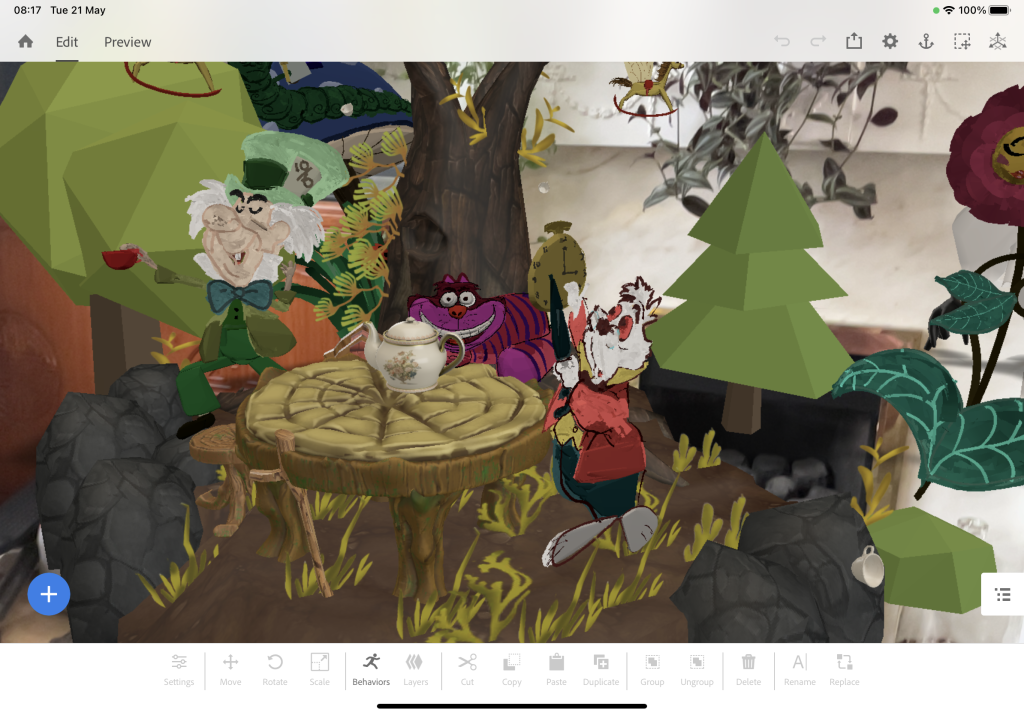
Image 54 – My Alice in Wonderland scenery taken in my living room to see how the scenery holds up in other places. 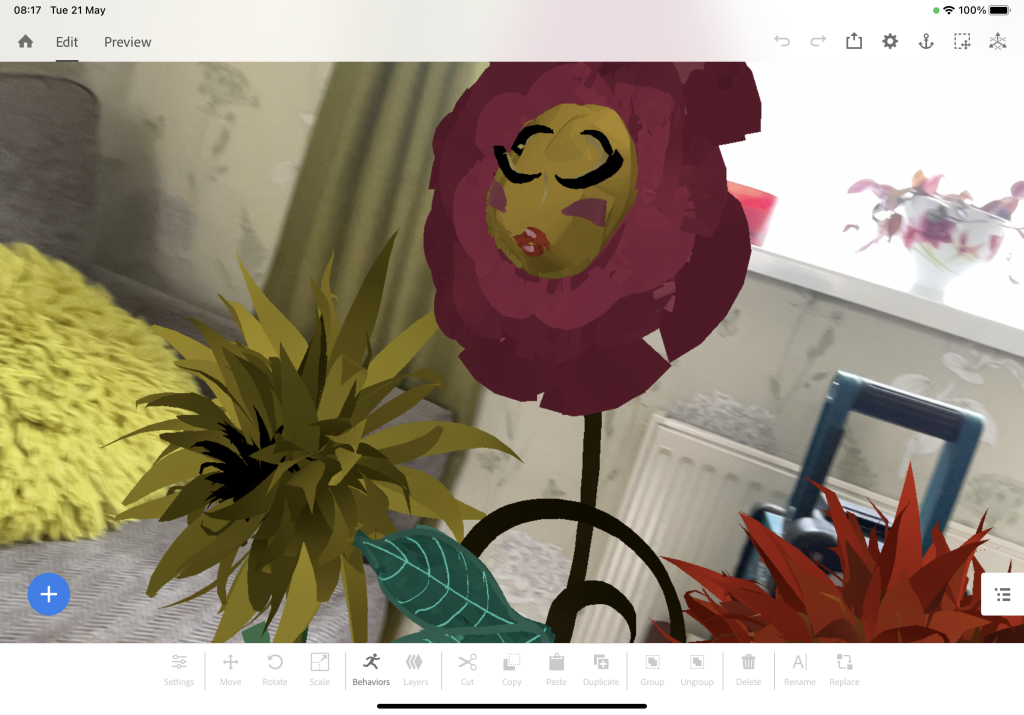
Image 55 – A close-up of my flower sketch to see how it projects in real life.
When using Adobe Aero I have began the setting up & placing all the characters in a way where I want the user to admire & explore the scenery. To do so, I have done the scenery outdoors as it will give blend into more of the nature/forest theme of my augmented reality. To do this I had to carefully pick out Sketchfab assets that would blend seamlessly into my assets, such as the enchanted tree & table which will be the main focus of my surrealism theme. To make sure my assets look blended into reality I had to use the scale, rotation & move tool to create realistic proportions for the characters so that when you go near to an asset or object it will be the similar height as the viewer to give the impression that they themselves are in Wonderland.
Behaviours
Although my goal is to create an augmented reality experience I also wanted to add interactive elements to the scenery. What I have done to achieve this goal I have used the ‘Behaviours’ in Adobe Aero to plan & calculate what I want to happen in this experience. The behaviours helped me to do so with the use of a timeline with the features such as showing & hiding an object. I firstly began with adding the Behaviours tool on Alice where I made her move towards the Hatter’s tea party. I then created a text bubble to encourage the user to find the Hatter’s tea cups. Each time the player finds the missing object I placed a ‘Tap’ trigger to bring the missing object back onto the tea party table. I then added text to the Red Queen with her asking you to paint the roses red. If the viewer taps on the paintbrush, flowers will emerge on the surface of the bush. I have done this by when the paintbrush asset is triggered, I added Behaviours to make the flowers appear.
